
MINI MESSENGER BAG TUTORIAL
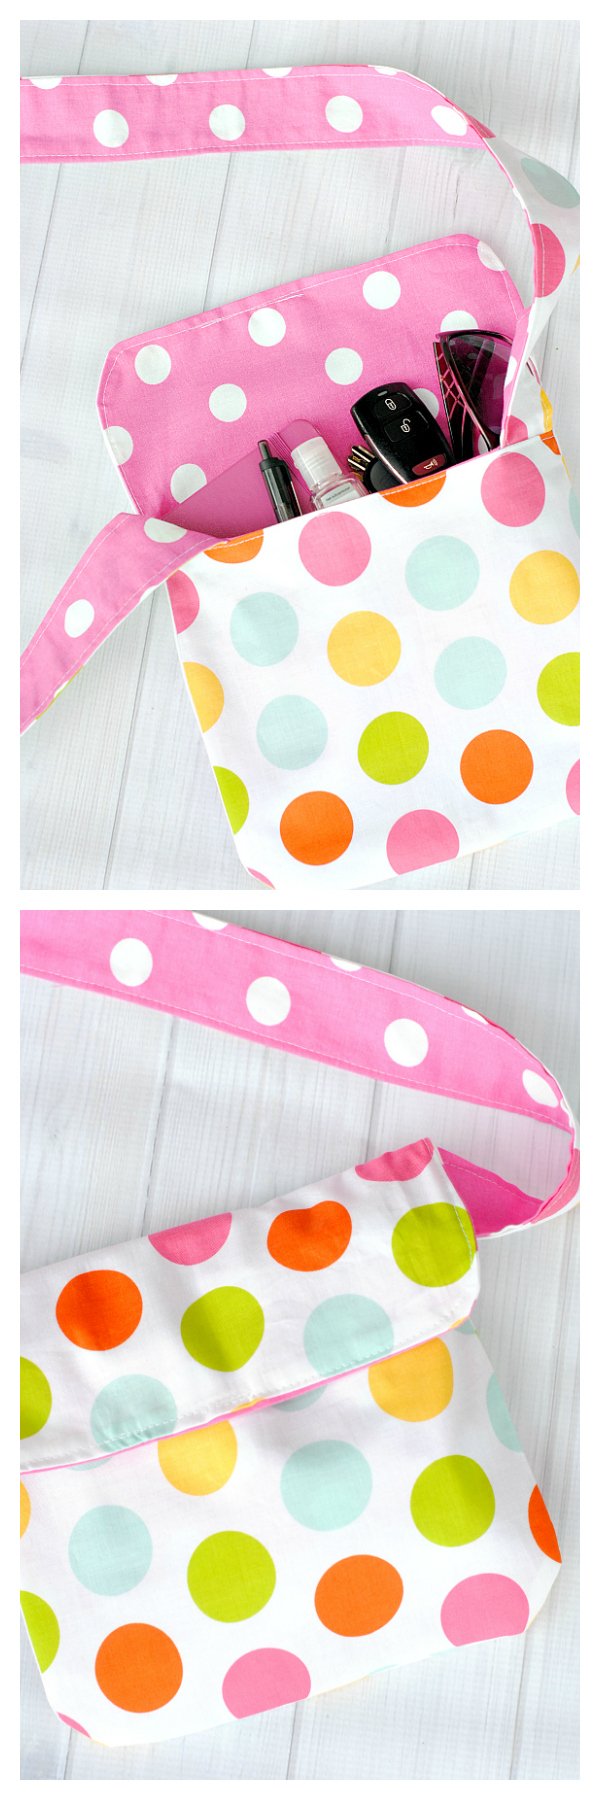
This is an update on an old post. In fact, this is my very first post that was ever posted to Crazy Little Projects. It’s been popular but I wanted to update it with some new images and a slightly different way to make it! I am pretty excited to bring this one back to life because it is a very easy sewing project that turns out great and I know you are going to love it. It’s a Mini Messenger Bag:
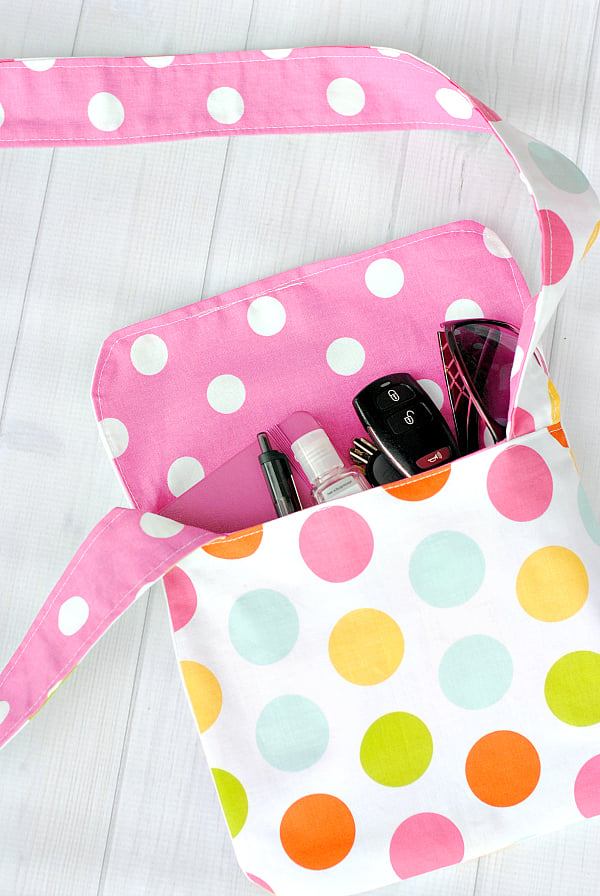
It’s just right to hold just a handful of things. Keys, wallet, phone, you know.

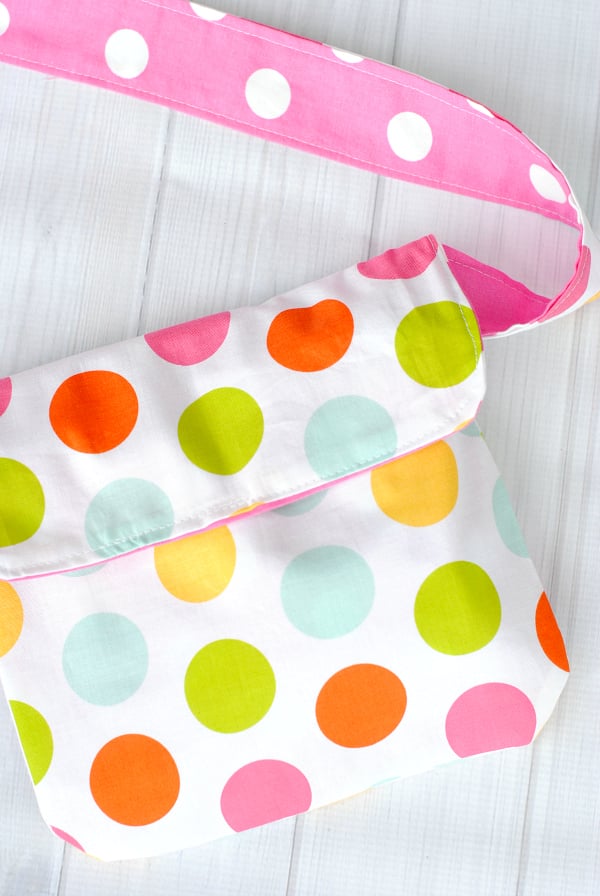
OR, it’s just right for a little girl! A tiny little purse for her to carry. 
And just for old time’s sake, here’s the original version that I am now updating:

May I just say that it is probably the very first pattern that I have ever created on my own! It worked and I love it. It is just right for my carrying just a few small things, plus, I LOVE that fabric.It will probably get dirty, but who cares? I will enjoy it while it lasts.
So, I have created a tutorial for how to make this little beauty.
MINI MESSENGER BAG TUTORIAL:
Supplies Needed:
- 1/3 yard each of two coordinating fabrics (or 1/2 yard if the fabric you choose is directional)
- Mini Messenger Bag Pattern Pieces
Instructions:
There are 3 pieces to print and cut out from the pattern-the Front, Back and Flap. You will need to tape the back and flap pieces together on the black dotted lines before you cut your fabric.
Cut out your pieces by folding your fabric and then placing your pattern pieces with the straight edge on the fold. Cut one front piece and one back with flap from each fabric.
You should now have 4 pieces cut out.
Now you need to cut out a strap too. Cut a piece from each fabric that is 3 inches wide by about 38 inches long.
You should now have 6 pieces of fabric to work with.
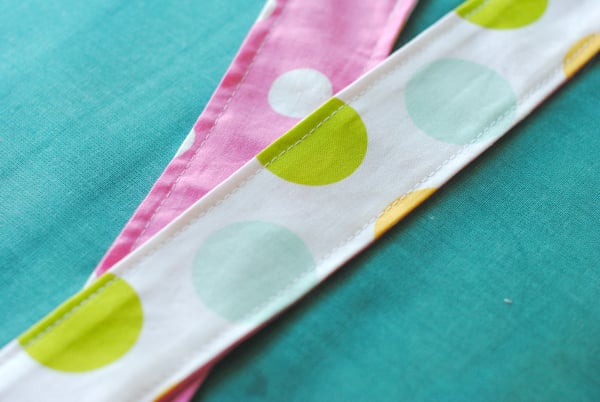
I always like to sew the strap first. Put right sides together and sew down both long sides leaving the ends open. Turn it right side out, press it and then top stitch.
Now, using your other pieces, put right sides together on matching fabrics and sew around the edges of the front part on the three outer edges. Do this step with both of your fabrics.

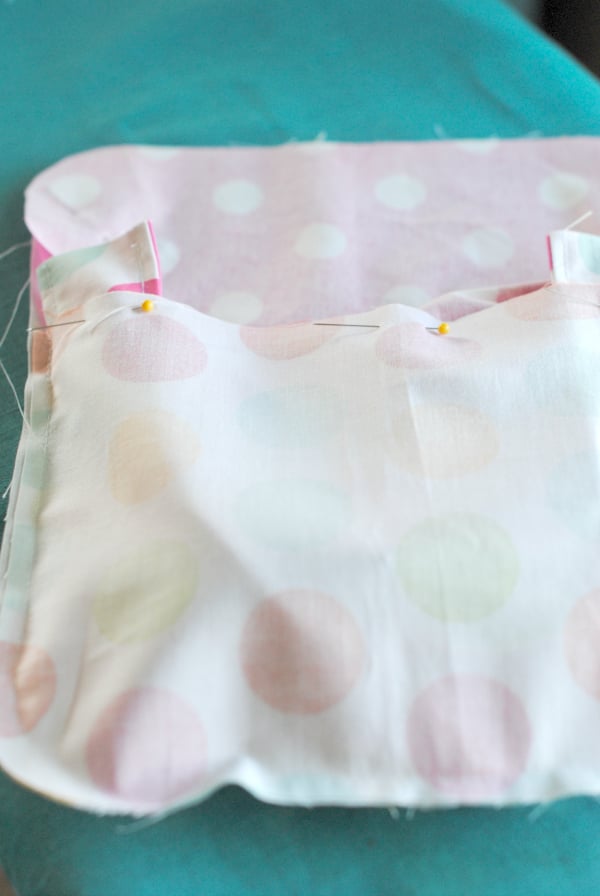
Turn your inner piece right side out and stuff it down into your outer piece. Get your strap and place it between the two layers. Match up the corners of the two layer and slide the strap in so that the end is poking out. Make sure that the strap is not twisted inside and do this on both sides of the bag.

Match up the sides of the bag and the flap and get everything all pinned together:

Now you are going to sew around the bag starting at the top, down the side, across the center piece (only catching the front pieces) and up the other side making sure to leave a 3-4 inch opening at the top to turn it.
If you need to see this, there is a video of this process on my full size messenger bag post near the bottom.
Now, turn everything right side out and tuck the inner part into the outer. Press the opening closed and top stitch around the same part that you just sewed. This will close your opening and make everything look nice.
Now press the whole bag and you are set!
You Might Also Like:


credit to: crazylittleprojects
No comments:
Post a Comment