
PICNIC BLANKET TUTORIAL
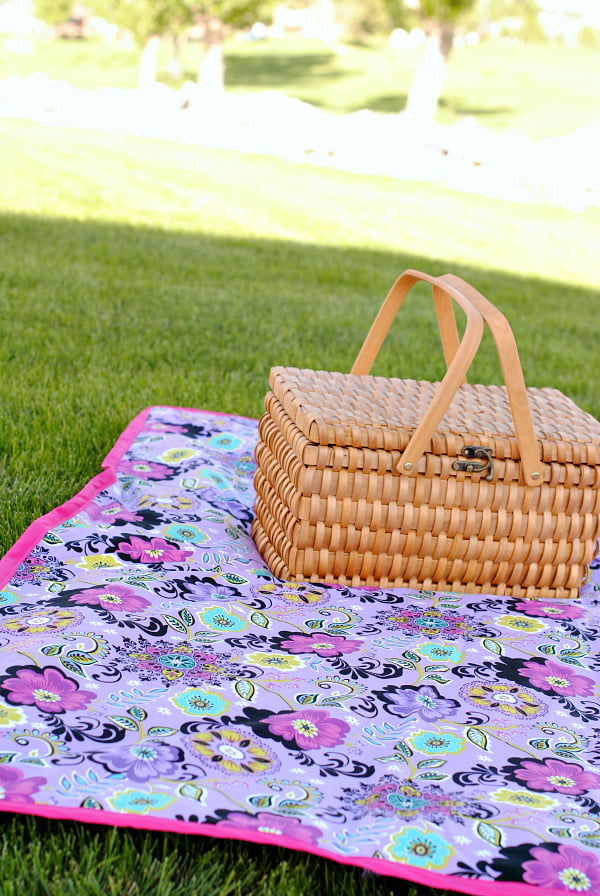
I love summer so much! We spend a lot of days at the park with friends and I love having a good blanket to sit on in the shade of a nice tree. This year I am sitting on a new, bright fun picnic blanket. The best part of it though is that it has built in straps so when I am done sitting on it I can roll it up, strap it and store it easily for the next park day. Here’s my picnic blanket tutorial:

PICNIC BLANKET TUTORIAL:
Supplies Needed:
- 3 1/2 yards of fabric
- About 2 yards of heavy fabric like denim (the blanket is going to be 68 inches by 54 inches so depending on how wide your fabric is you will need to figure out how much to get. Denim and other heavy fabrics tend to come wider than regular cottons)
- 3 packages of wide single fold bias tape in a coordinating color
- 1 package of cotton batting
- 6 inches of Velcro
Instructions:
Lay out your large piece of denim fabric with right side down.
Lay a single layer of cotton batting across this and cut to fit.
With your top fabric, lay it on top of the denim and cotton and cut to fit. You will need to piece this fabric together by cutting 2 large pieces and then sewing a seam up the middle.
Lay that fabric on top and pin the blanket around the edges and in several places in the middle.
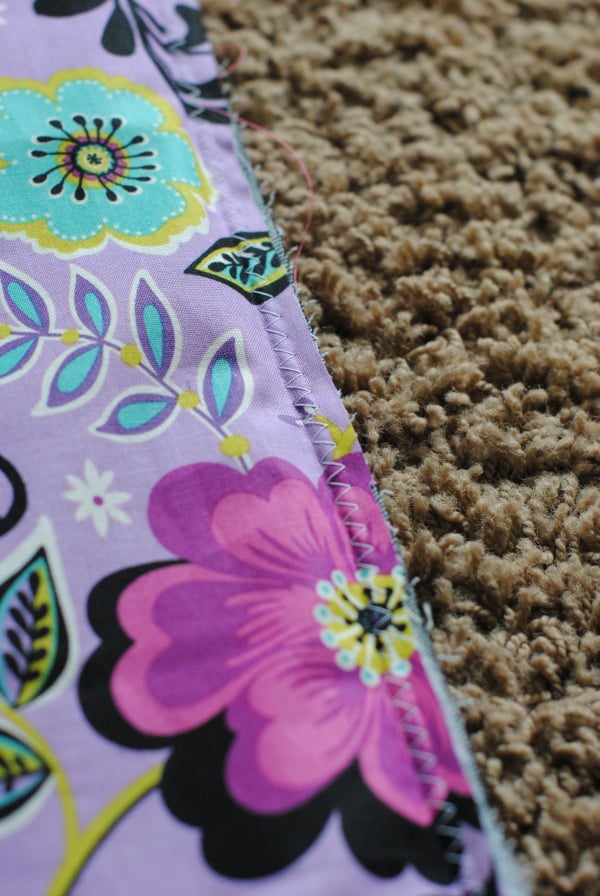
Zigzag around the edges of the blanket:
Then pin your bias tape all the way around the blanket. At the corners I just cut them off. You can do mitered corners if you want, but this is a simple way:

Sew all the way around this near the inner edge of the bias tape. At the corners do a zigzag stitch on the raw edges to prevent fraying.
Now sew a seam through the whole blanket right on the center seam you made earlier. This will help hold everything in place.
You need to do something to make sure that the batting stays where you want it when you wash this blanket. You can choose to add ties every 6 inches or so or you can sew through it to hold things down. Sew lines through it every 12 inches or so if you prefer-this will help keep everything in place.
Now you need to make your straps. Cut two pieces that are 4 inches wide by 29 inches long.
Fold them in half the long way and sew up the long side and one of the short sides.
Turn right side out and fold in the open end, press and sew it shut.
Sew a 3 inch strip of Velcro on one end and a 3 inch strip of the other piece of Velcro on the opposite side of the strap and the other end.
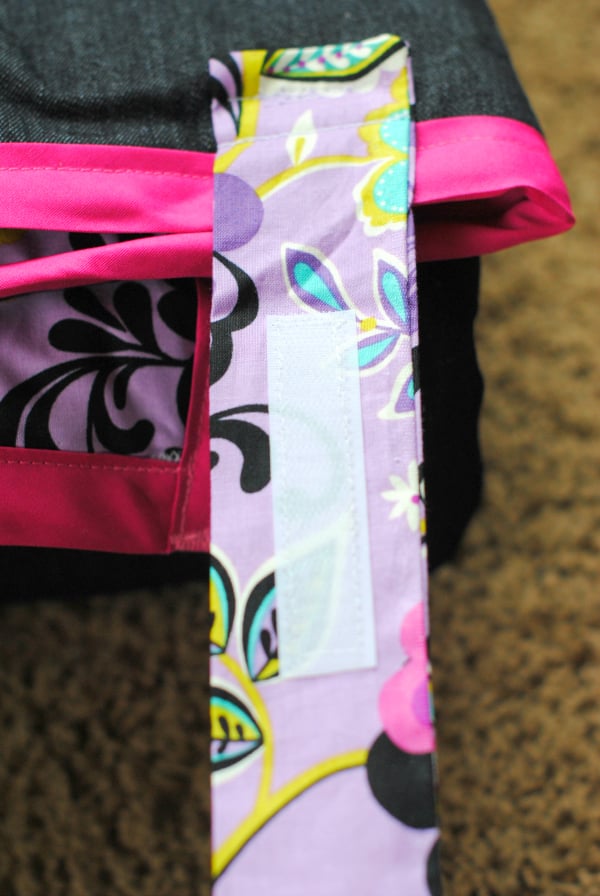
Sew the strap to the bottom of the blanket:

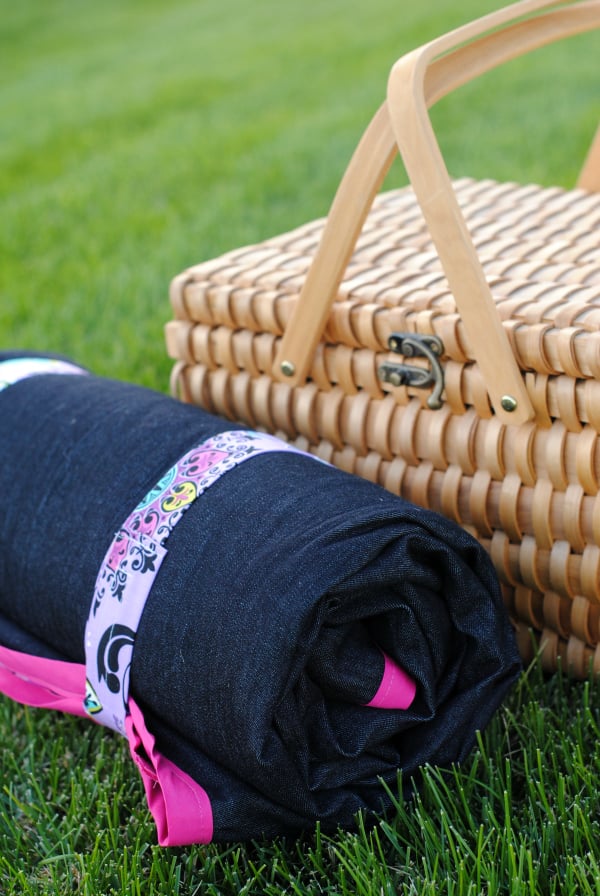
Roll it up and take it on a picnic!
You Might Also Like:


No comments:
Post a Comment