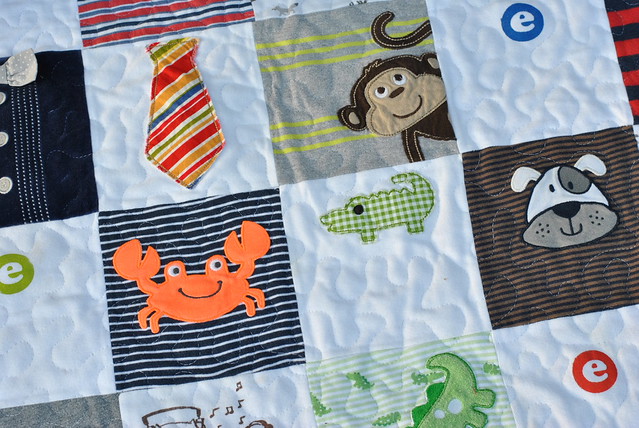
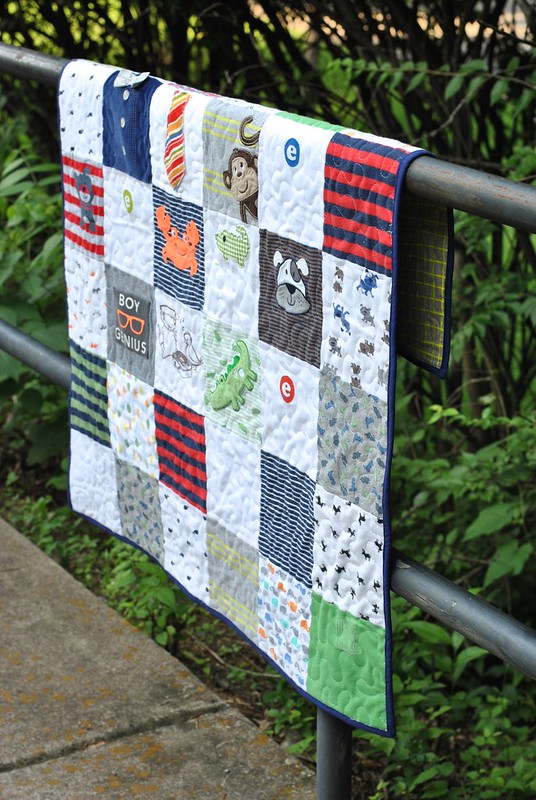
If you are new to quilting with knit fabrics, her tutorial is excellent. I made a few modifications to make the process quicker for me, which I’ll tell you about below, in this quick and dirty onesie quilt tutorial.
Materials:
– 28 to 42 onesies (sizes ranging from newborn to 12 months). Plan on more if you want a variety, and fewer if you want a more cohesive looking quilt with some repeats
– 3 yards of Pellon SF101 ShapeFlex (affiliate link)
– Binding and backing fabric
– 1 1/3 yard backing fabric and batting (should measure at least 40″ x 46″)
– 3/8 yard binding fabric
– Highly recommended: OLFA 6 1/2″ square ruler (affiliate link)
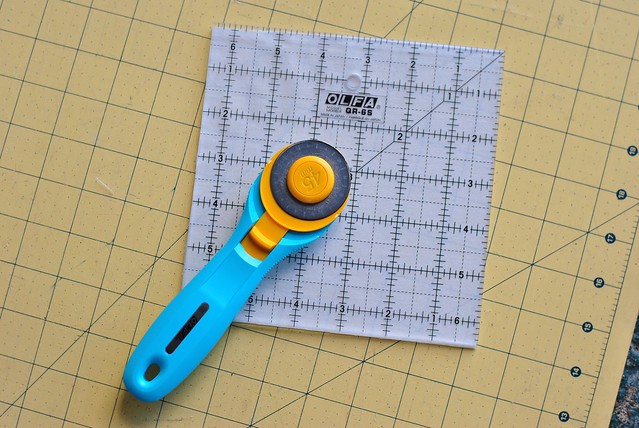
1. Cut a 6 1/2″ square of ShapeFlex with your square ruler. Since the ShapeFlex comes in a 20″-wide roll, you should be able to cut three squares per row.
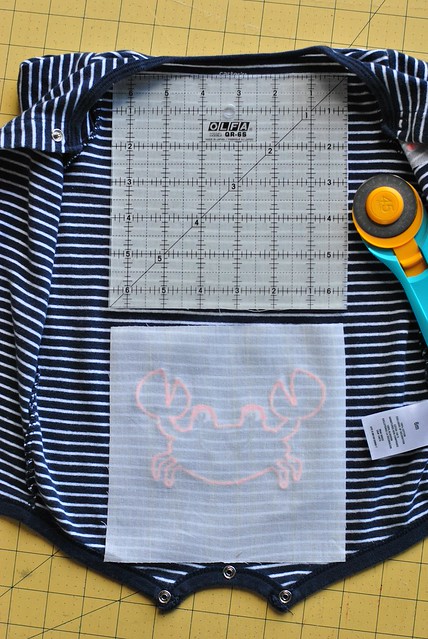
2. Use an iron to fuse the rough side of the ShapeFlex to the wrong side of your onesie, centering it on the design if needed. Unless the onesie snaps open like this one, you’ll need to snip your onesie open, usually cutting down one long side seam and sleeve.
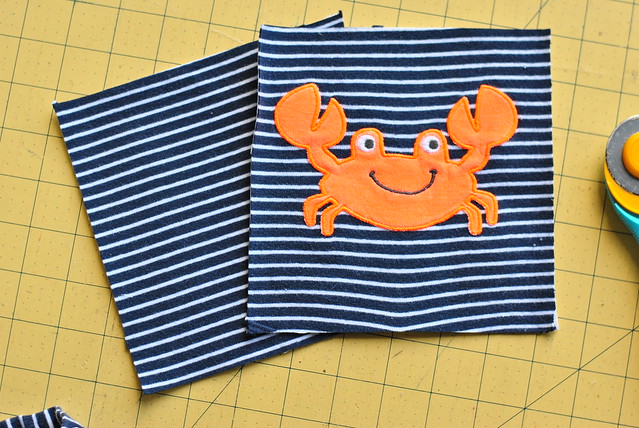
3. Once the ShapeFlex is fused to the onesie, use your ruler again to trim around the square. Adding some type of fusible interfacing to the back is very important for getting crisp, clean squares that will not stretch out of shape. You’ll notice that some of my stripes warped, which is due to squeezing too many squares out of a single onesie. However, I didn’t mind this because I REALLY wanted to repeat the majority of my prints for consistency and design.
Generally, you’ll be able to center the cutout and repeat with the front and back of the onesie to get two usable squares from each one. I was able to do this with sizes from newborn to 12 months! In a few cases, I had to include a bit of bulky shoulder seam, but only enough that it would be easily hidden in the seams of the quilt.

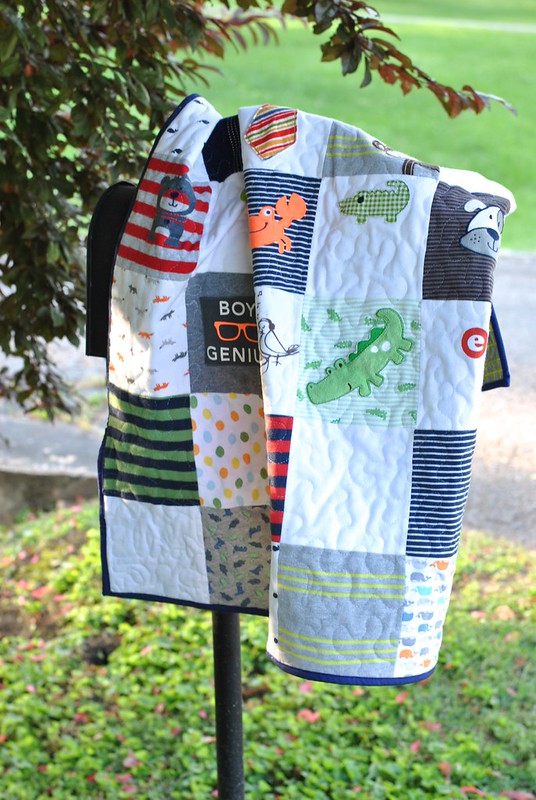
4. I used a total of 28 onesies (or baby items) for a quilt with 42 squares. I tried to get at least 2 usable squares out of each onesie (front and back). For the grey with yellow stripes, a 9-month jumper with shorts, I was able to get 3 out of one outfit! I also made creative use of a burp cloth (barely used) and velcro swaddle when I realized I needed a few more light-colored squares.
For some of the appliqued onesies, I needed to cut out the onesie and reapply it to another square. For instance, if a zipper or seam line would be in the way. Be creative!
5. Once you have your squares fused and cut, have fun arranging them. I went with a checkerboard layout (light and dark squares) and faced all of my stripes the same direction. I used a few plain, white blocks to break up the design.

6. Sew your blocks together in each row using a scant 1/4″ seam. Press the seams open and join together the rows. I joined the blocks in each row and then used my “tiny stitches method” to join the rows together and get perfect points! You can also pin, if you wish.
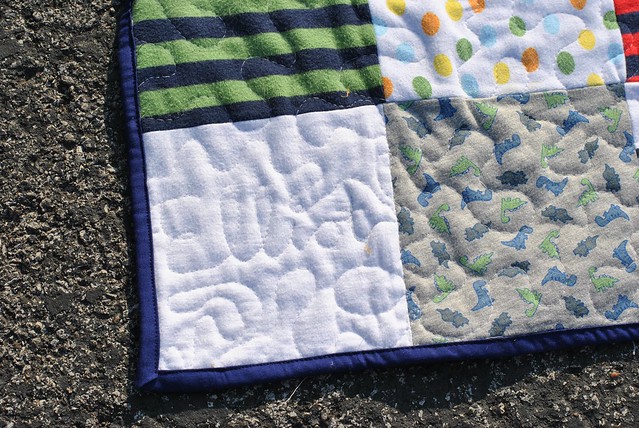
7. Baste your quilt and quilt as desired. I used a free-motion quilting stipple pattern, creatively avoiding the appliques. I made my own 2 1/2″ width quilt binding from solid navy fabric. This was my third try, and it was the winner!
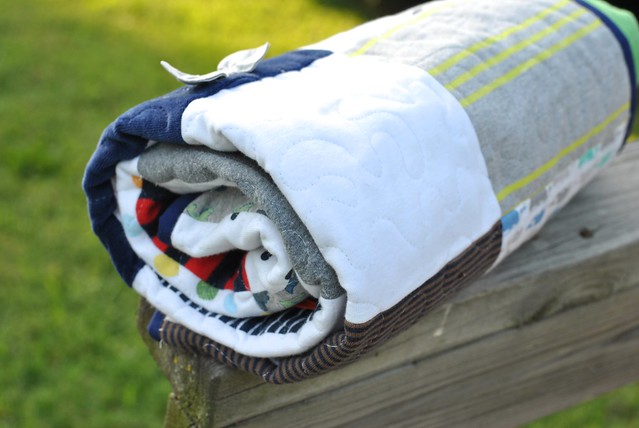
A homemade onesie quilt would make a great gift for a toddler mom . . . don’t you think?

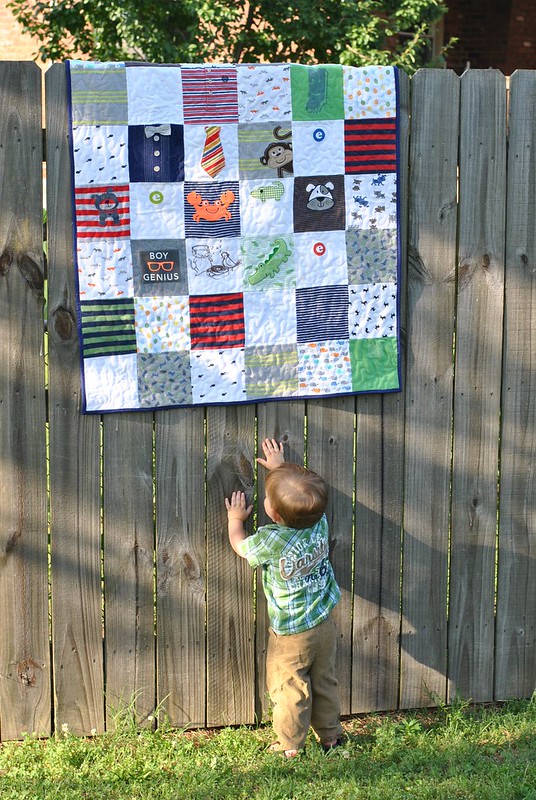
I think Elliot likes it!
credit: craftbuds.com

No comments:
Post a Comment