
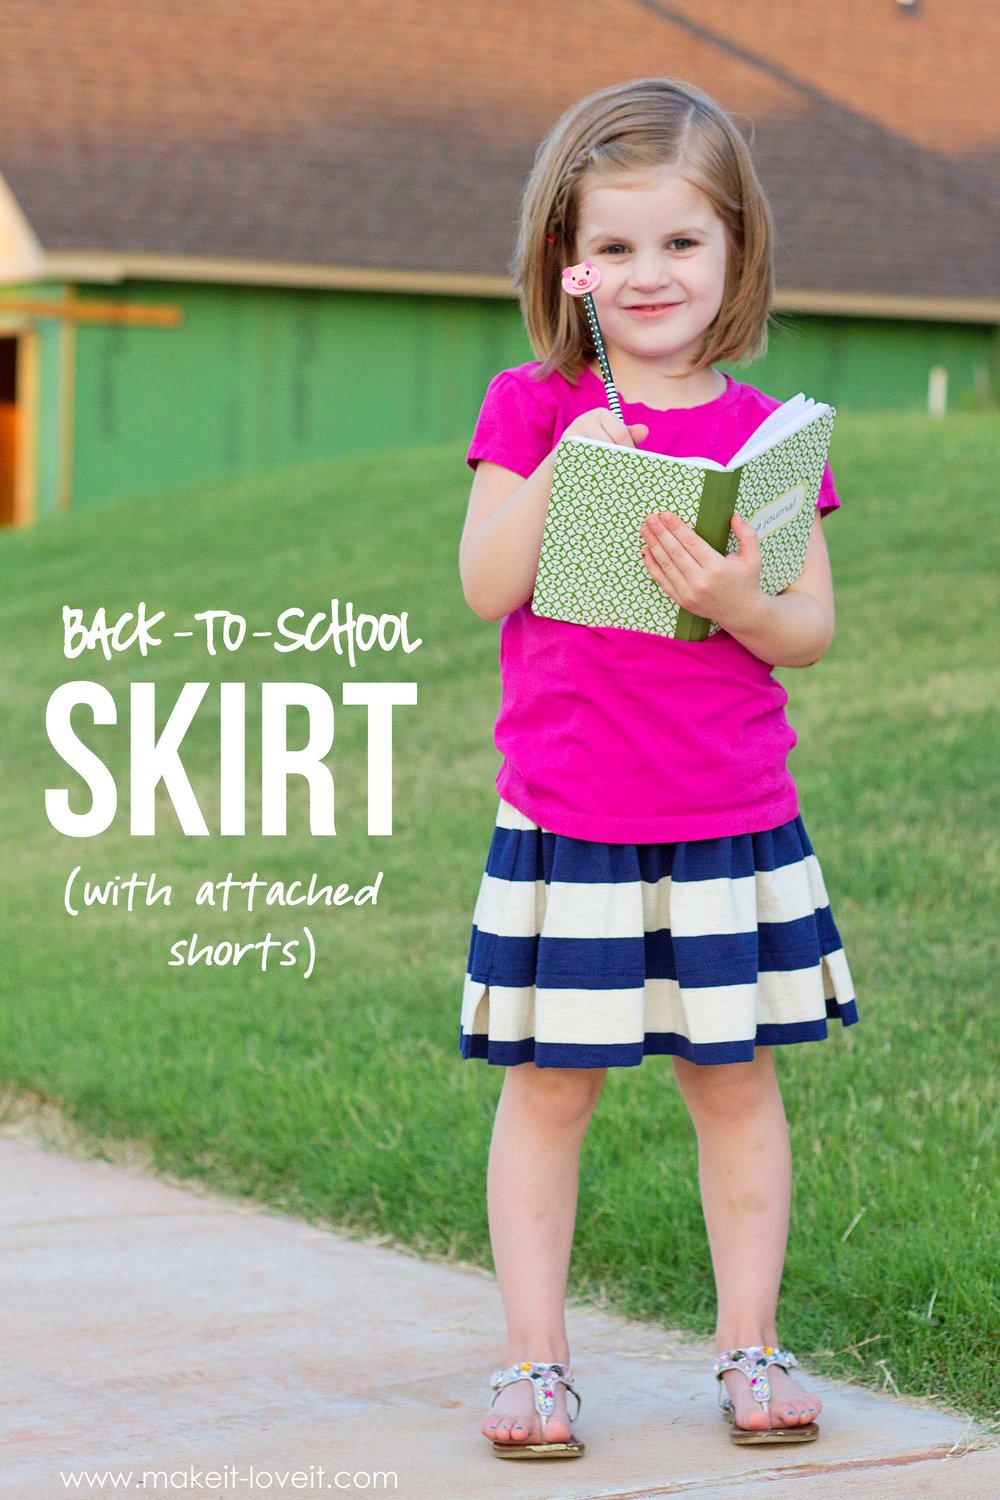
Back-to-School Skirt with Attached Shorts
Our kids start school next week and they’re really excited to get going. This will be their first full year at this new school here in Oklahoma since we moved at the end of February and they only went for 3 months last spring. Elli is in 3rd grade, Connor is in 2nd, and Chloe will be starting Pre-K….which is only a few hours in the afternoon. And let me tell you, that Chloe-girl is EXCITED! She keeps telling me all about how she’s going to play ponies with her friends and race the boys on the playground and how her teacher is so beautiful (we haven’t met her teacher yet). Yes, this child is an animated one. :)
One of my very favorite times to shop ever….is back-to-school time! New pants, crisp clean shoes, perfectly pressed shirts, bright white socks, etc. I loved it as a kid — I love it now! (Especially when I find things on a crazy good sale…..nothing makes my heart all aflutter like a flaming good deal!) And just like always, my girls requested less pants and more skirts/dresses. Fine with me.
However, since Chloe’s going to be flying on ponies during recess (ha!) and isn’t as self aware about her own body, I’ve really got to help keep her little undies covered. So, you know those little skirts with shorts attached….yeah, we need lots of those. But I couldn’t find a wide variety in the stores. So, I set off to make some of our own. So she can somersault and fairy dance during recess but sit criss-cross-applesauce during class time……and not show her unmentionables. :)
But the CHEATER part of this tutorial…….is that you can use an old pair of leggings and a women’s shirt. Hello thrift store, I love you for so many reasons…..but especially for having so many un-loved pieces of clothing that have just the right amount of fabric that I can use for something else! (Ugly shirt? Yes. But, perfect for a flouncy skirt!) However, you can create this from scratch too and just buy some knit fabric, but there’s just not as many unique and colorful options as finding an old shirt.
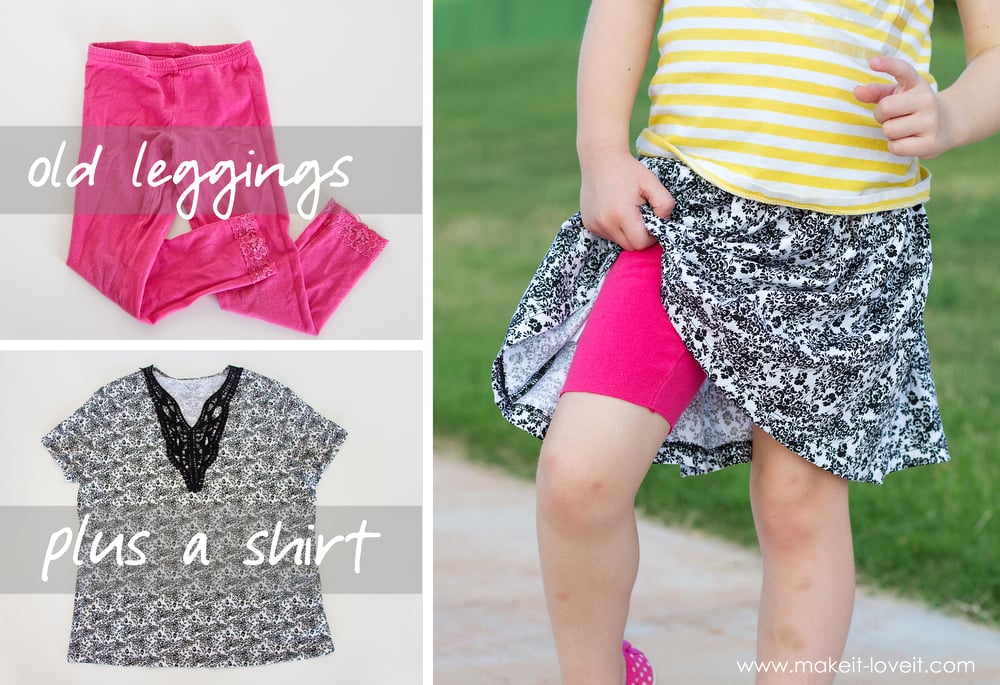
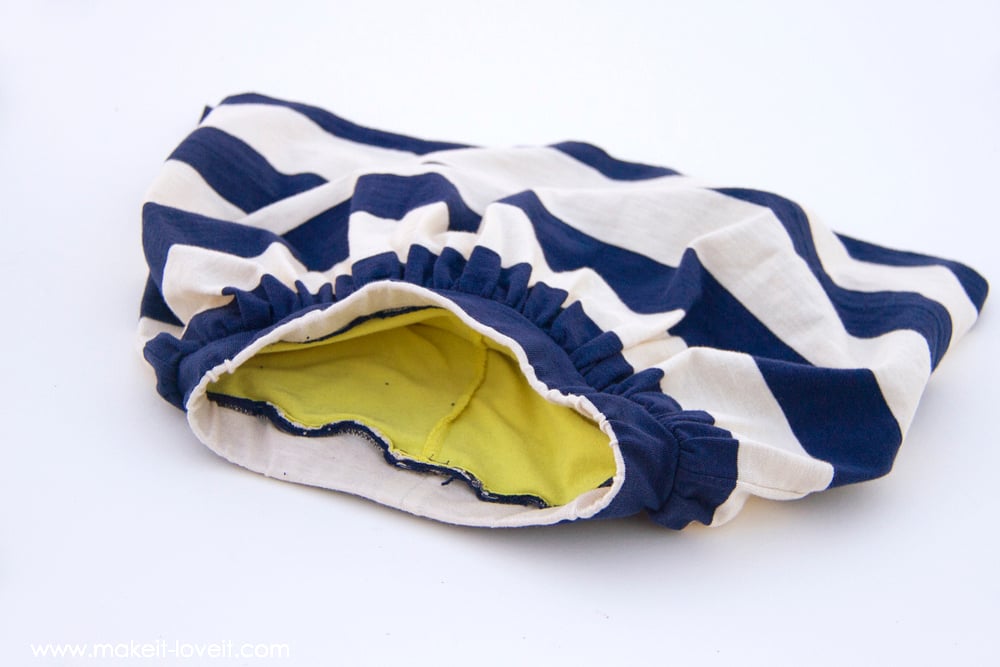
Now, we don’t have to worry about finding that dang pair of shorts that will fit under her shirts…..or forget to put them on. These shorts are attached and stretchy and don’t gape open. Perfect!

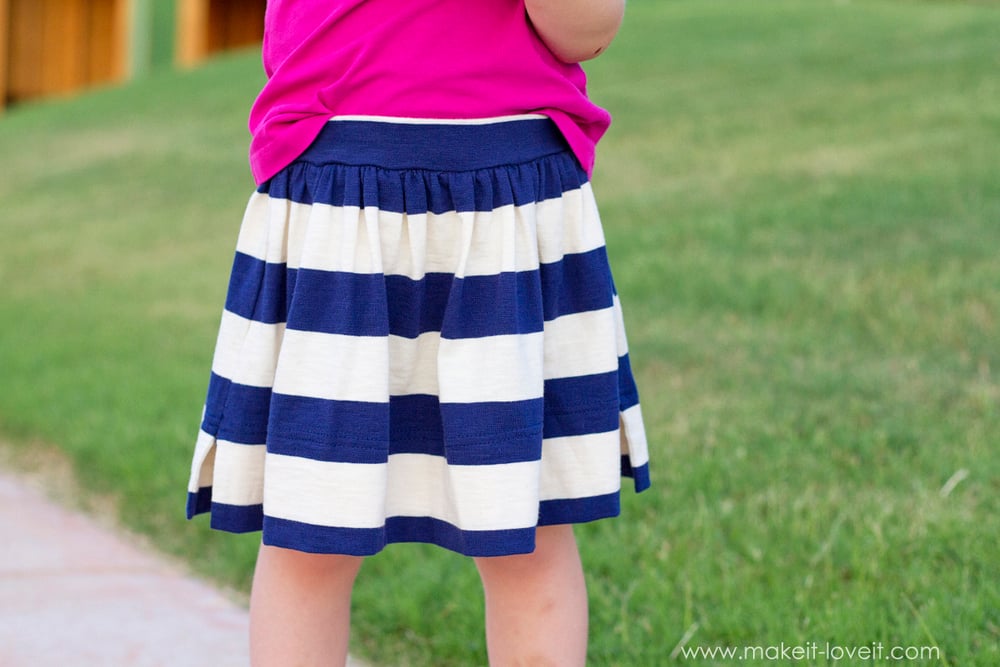
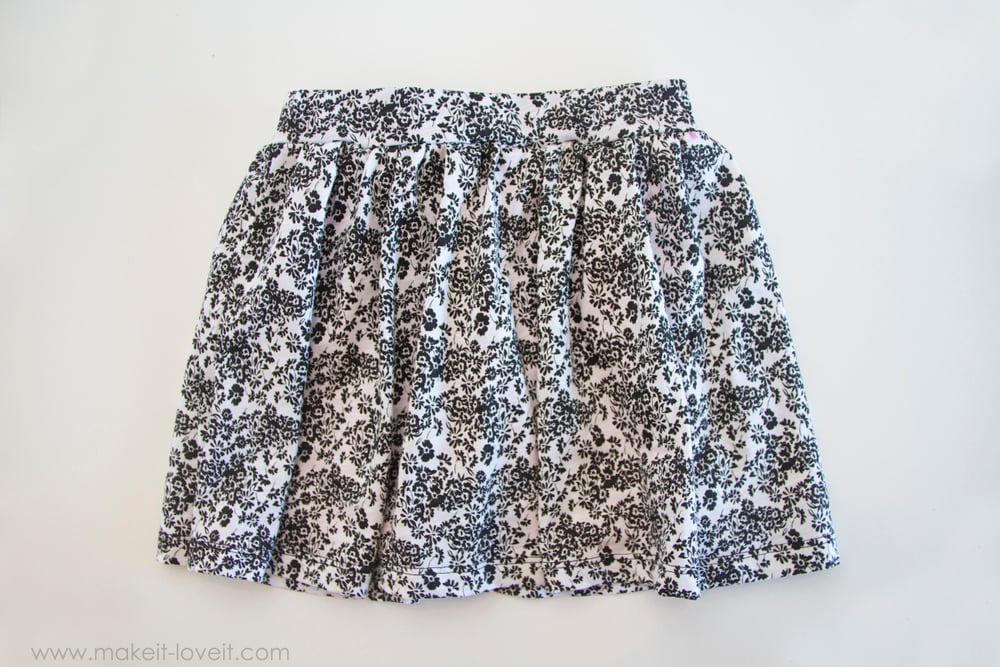
The waist band is wide and stretchy…..perfect for playing in!
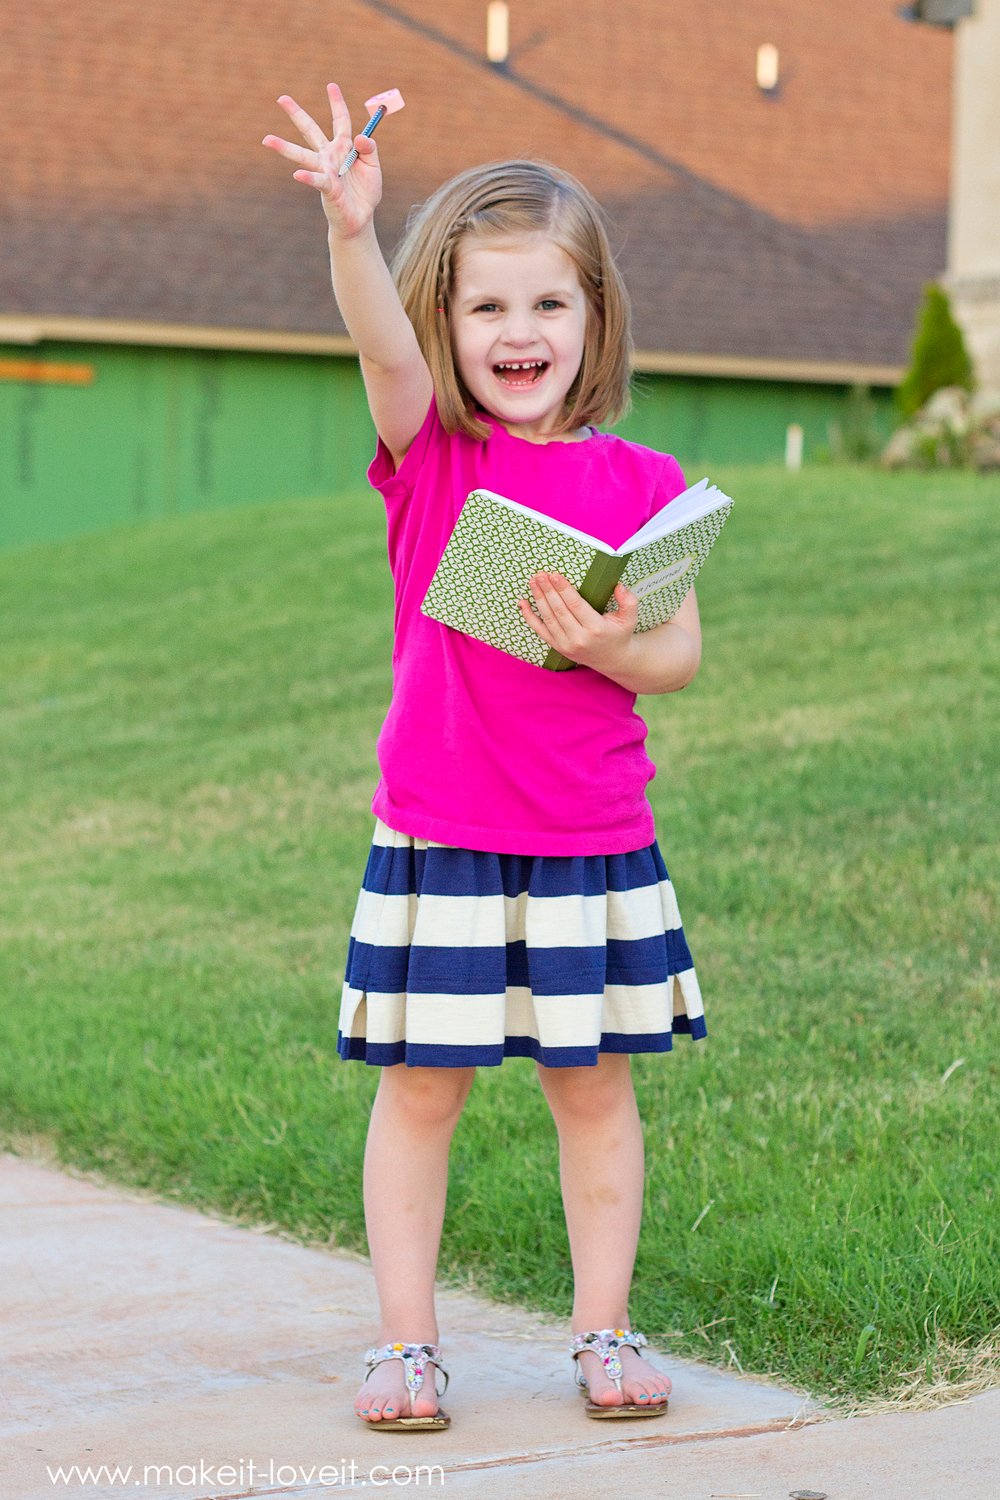
These girls of mine love their skirts. And I get it…..they can twirl and spin and feel fancy!

The shorts are un-hemmed (after cutting them off from being leggings) because they don’t really need it. The knit fabric won’t fray, even in the wash. You can cut them longer so that they peek out on purpose (more like a capri length)….or cut them shorter. Whatever you prefer.
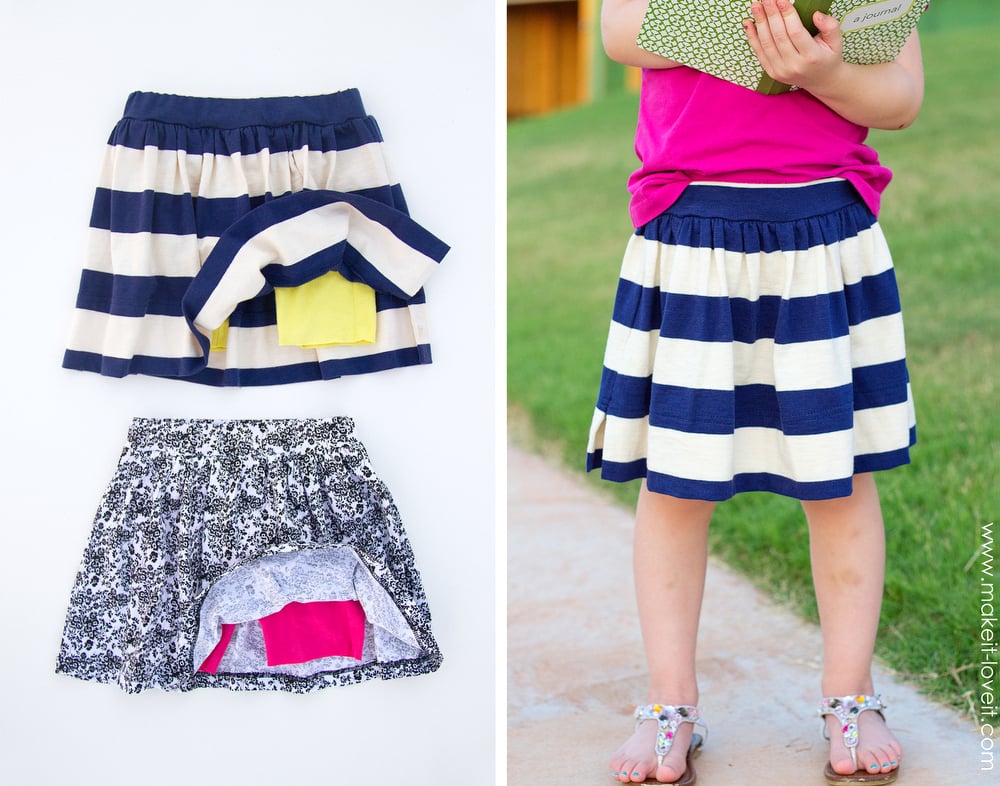
Everything is attached at the waist so they can jump right in.
Two new skirts for our little Pre-Kindergartener to wear to school…..who is completely ECSTATIC about that fact!
Ready to whip up a few Skirts with Attached Shorts??
Okay, let’s do it.
SUPPLIES:
- Old Tshirt (or knit fabric)
- Old Leggings (or more knit fabric)
- 1 inch elastic
- sewing supplies (here’s a list of my favorite sewing supplies, in case you need a few ideas)
If you have an old Tshirt to use, then you have a hem already sewn for you.
Measure up from the bottom hem of the skirt, the desired length of your skirt, MINUS 1/2 inch. (If you’re creating a skirt from un-sewn knit fabric, be sure to add extra length for the hem.)
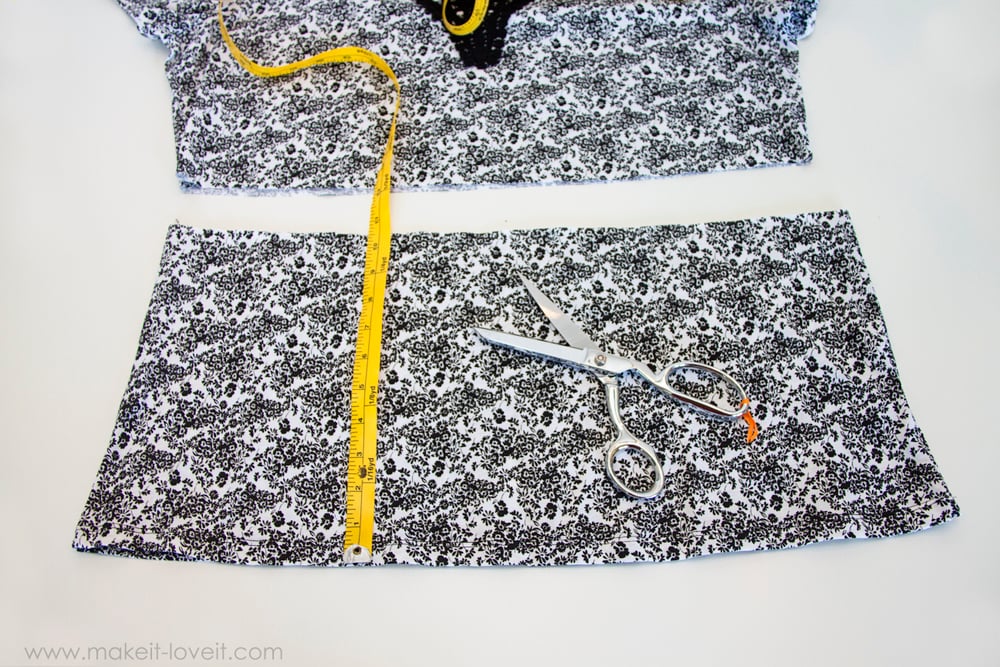
Then, cut another strip from the shirt that is 3 3/4 inch tall.
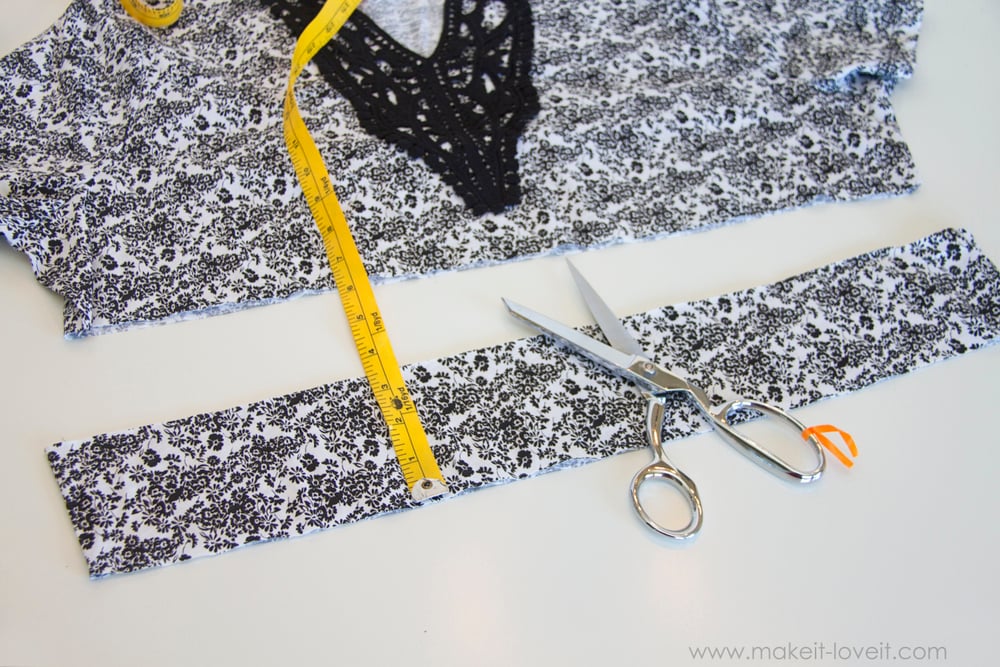
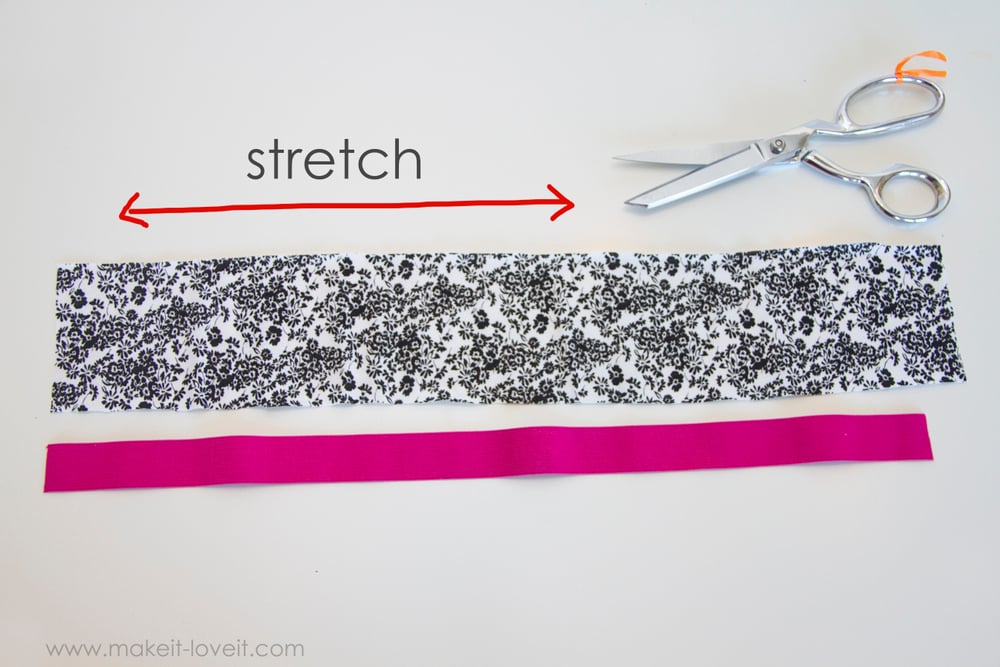
Cut a piece of elastic that is the same measurement as the waist and then cut down the strip of fabric down to the same measurement as the waist PLUS one inch. Be sure that the stretch of the knit fabric is stretching left to right, not up and down.
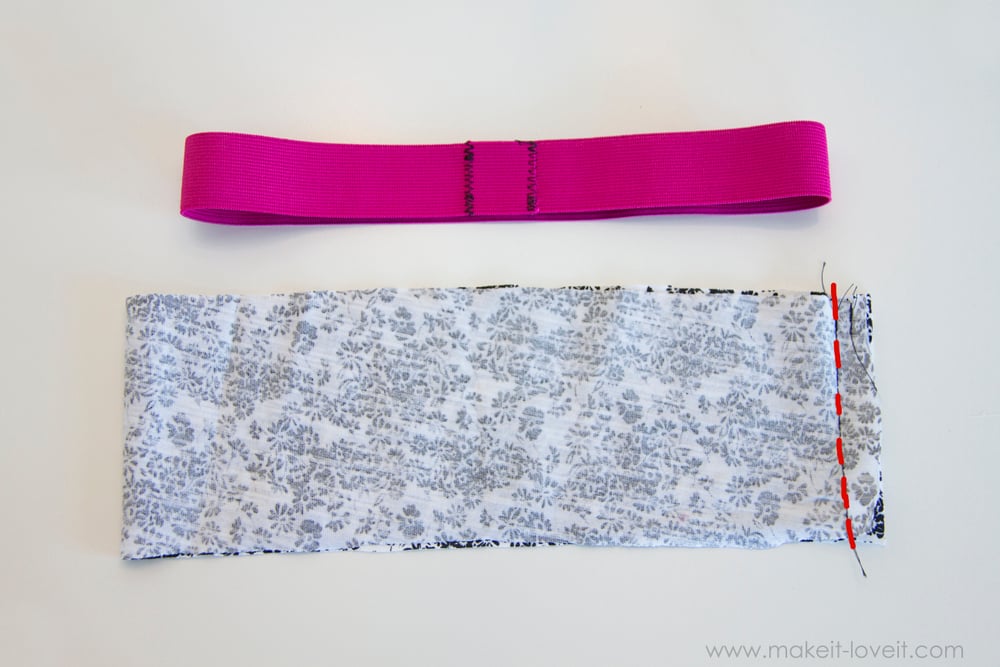
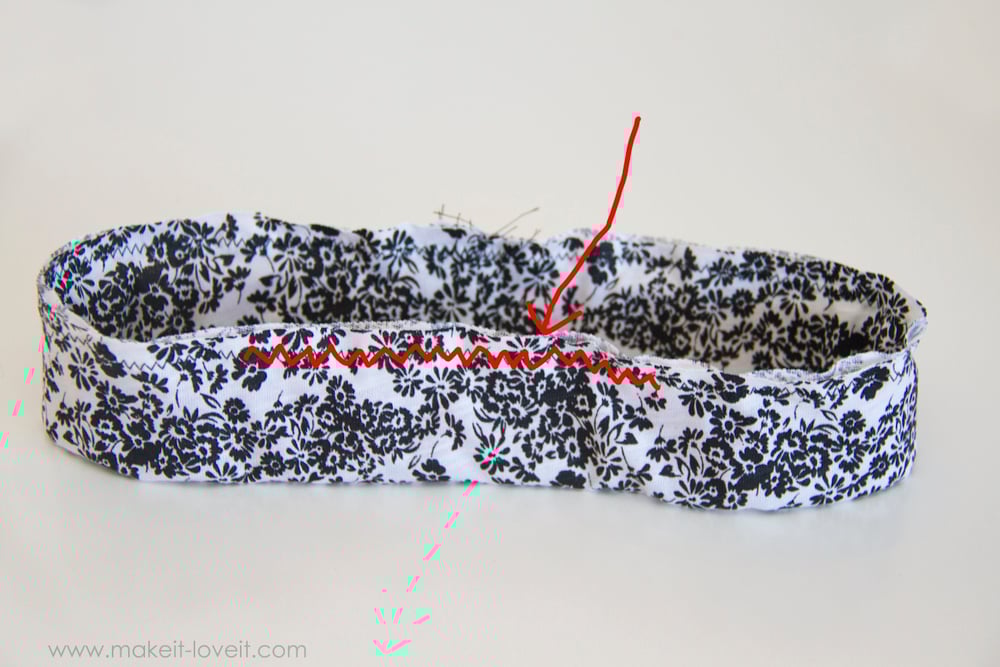
Then, overlap the ends of the elastic by one inch and sew the ends down with a zig-zag stitch. Fold the piece of fabric in half width-wise and right sides together and sew the ends together with a 1/2 inch seam allowance.
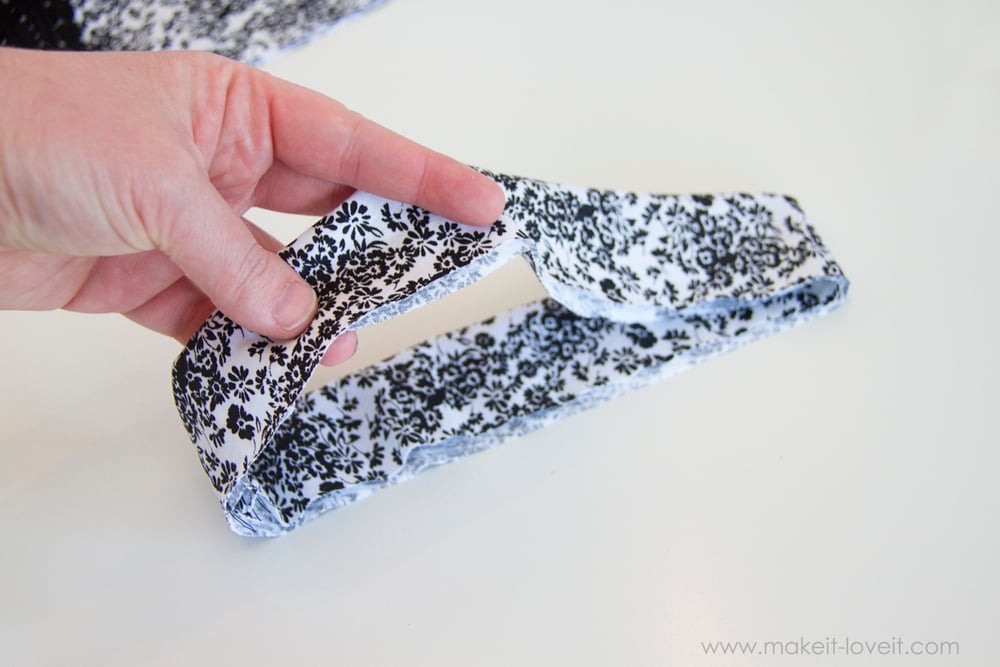
Turn the strip of fabric right side out and then fold it in half onto itself, creating a casing for the waistband.
Slide the circle of elastic inside, sandwich the fabric around the elastic, and pin the fabric casing closed.
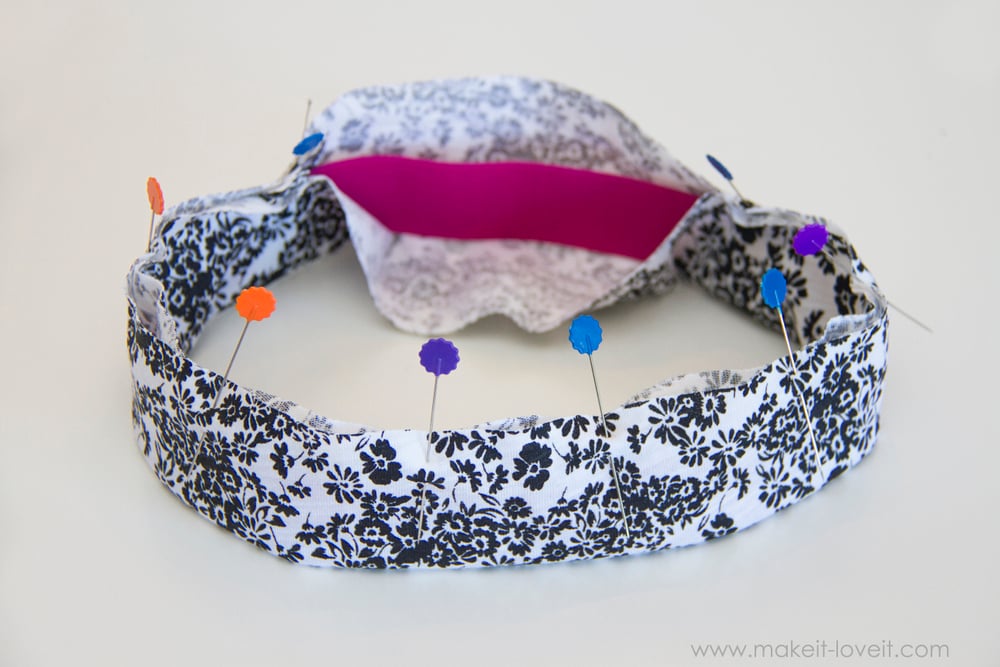
Sew all the way around the open edges, using a 1/2 inch seam allowance and a zig-zag stitch.
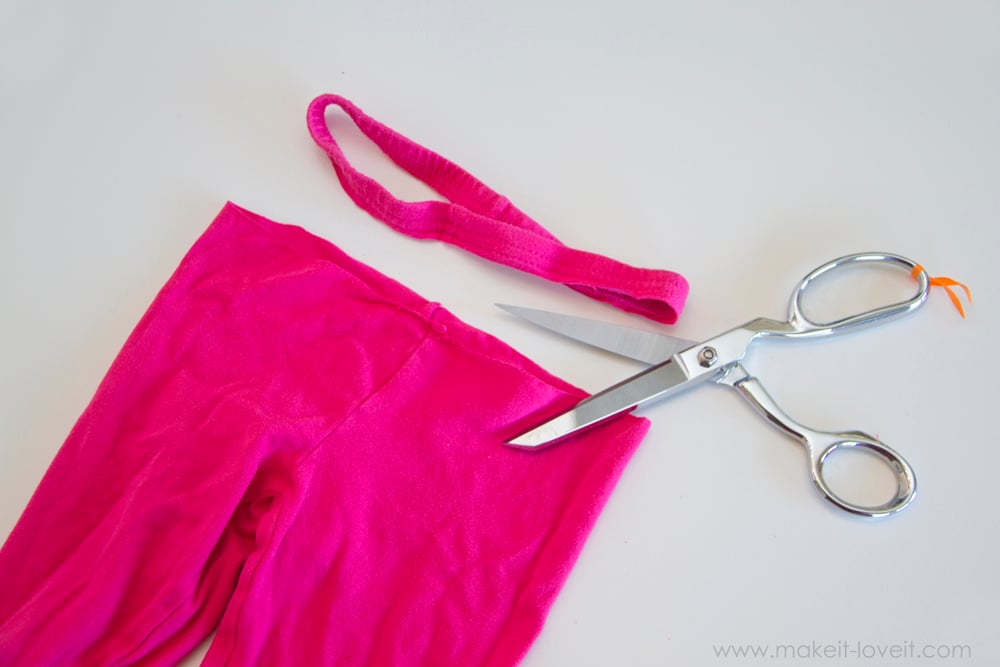
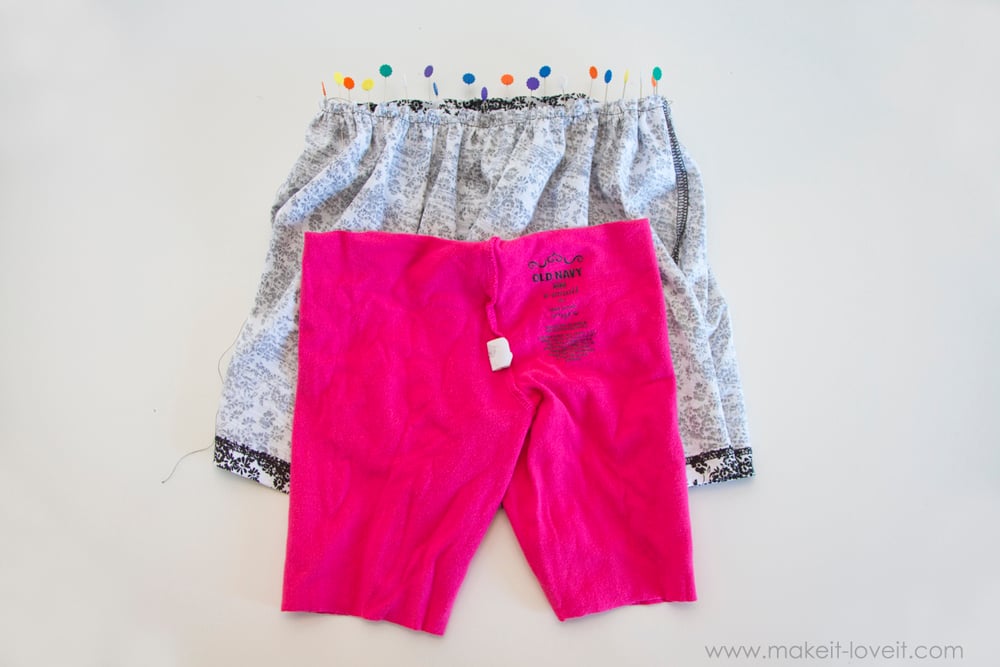
Now, cut off the waistband of the leggings.
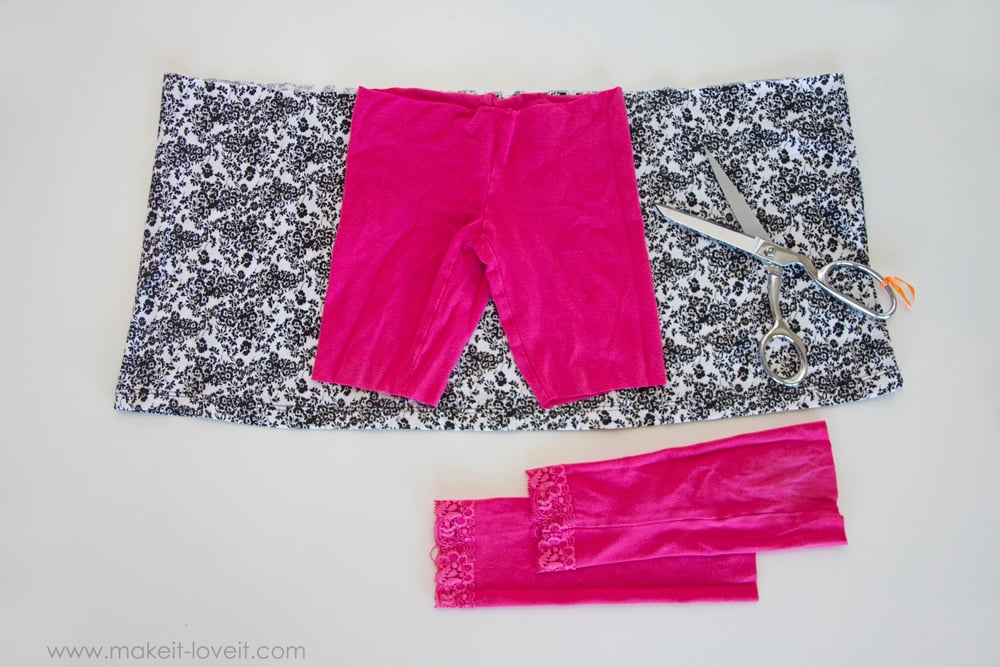
Then, grab the skirt portion that you cut off your shirt and line up the top edge of your leggings with the top edge of the shirt. Cut off the leggings a couple inches above the bottom hem of the shirt. (There’s no need to hem the bottom of the shorts but you can if desired.)
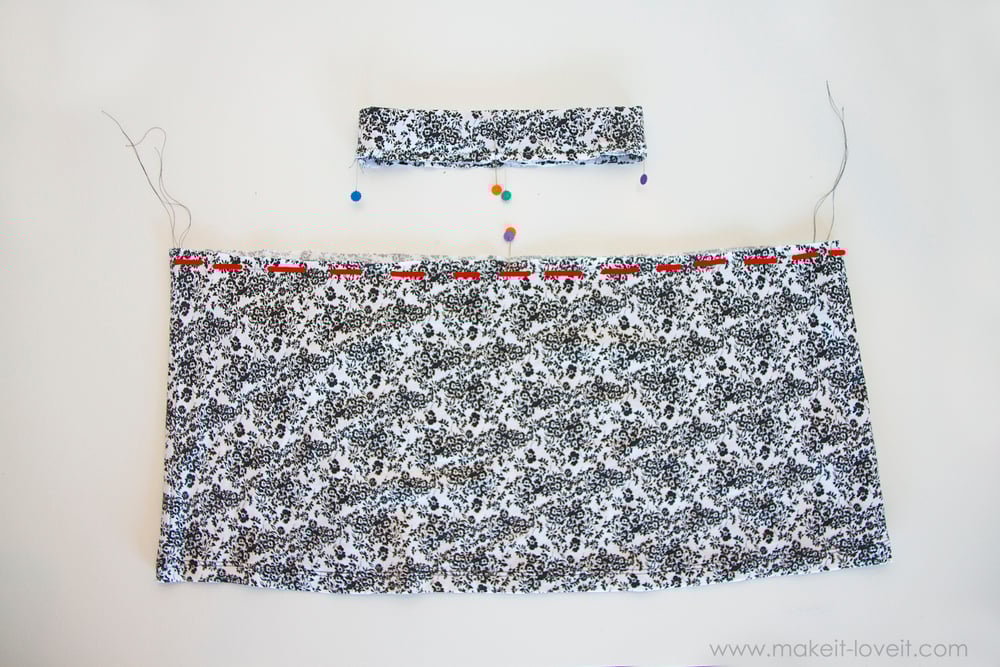
Now it’s time to create the gathers of the skirt. Sew a basting stitch (really long stitch) along the front of the skirt (from side seam to side seam) and another single stitch along the back. Divide your skirt into 4 and add pins and do the same with the waistband.
Match up your pins and start gathering in your fabric,
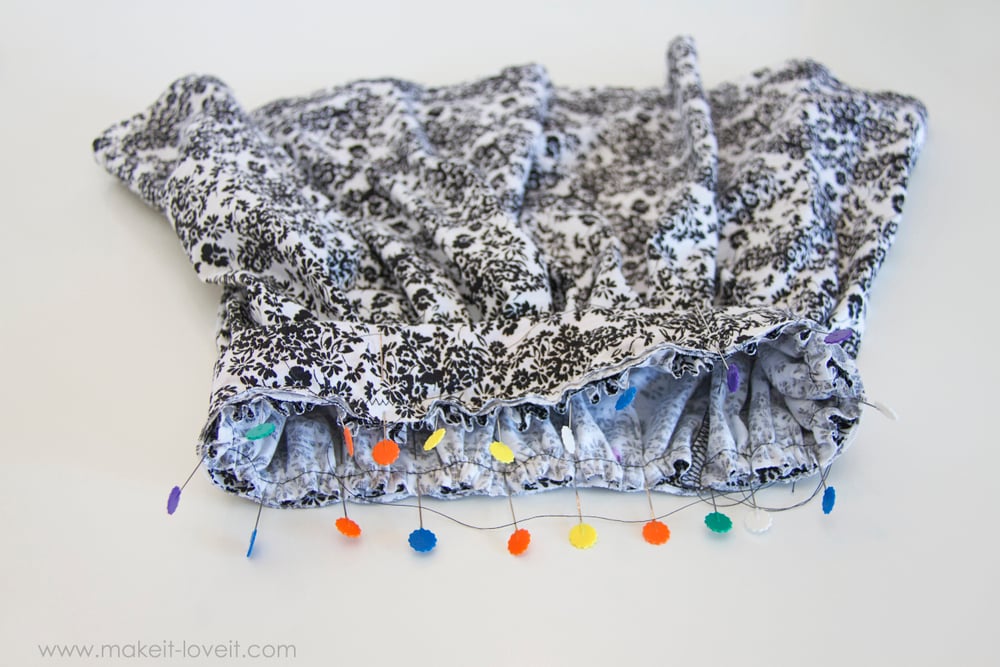
Once your skirt is all gathered in, you can go and sew the gathers in place with a loose zig-zag stitch to keep everything in place for this next step (might be helpful for beginners), or you can just keep the pins in place and move on.
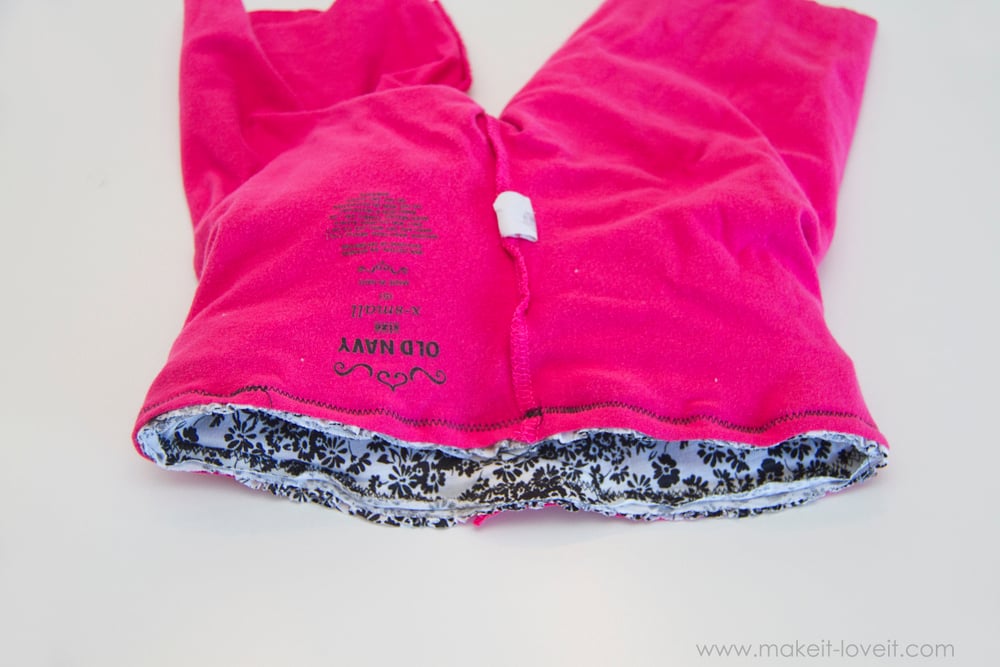
Turn the skirt inside out with the waist band still along the inside. Turn your shorts inside out as well.
Slide your skirt inside your shorts…
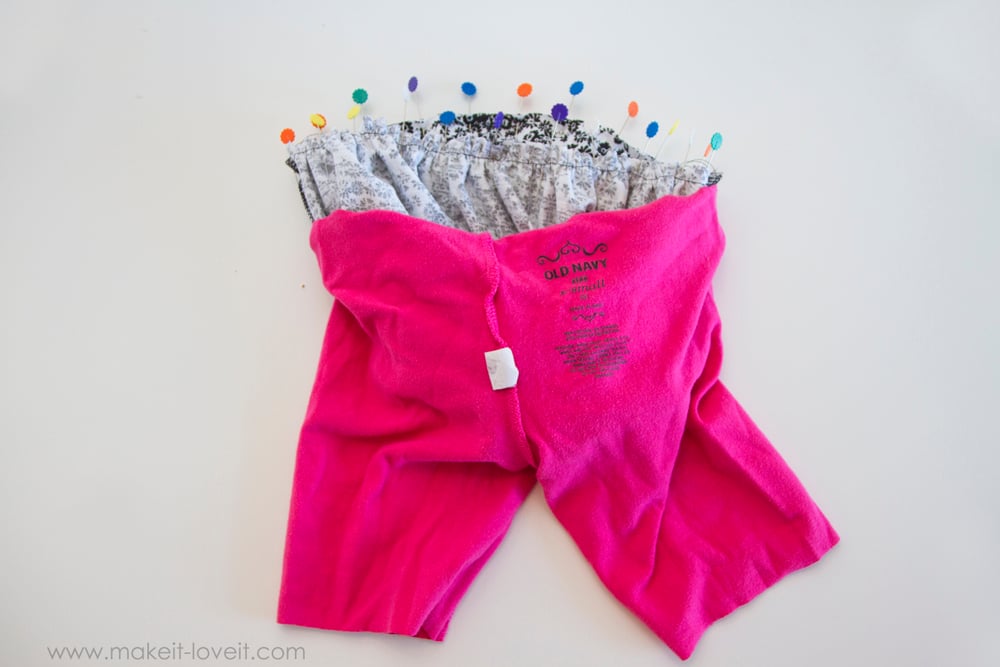
Keep fitting the skirt down inside the shorts until you line up with top edges of both.

Depending on the size of your shorts, you may have to stretch them just a bit to to make them fit evenly around the waistband and skirt. And that’s okay.
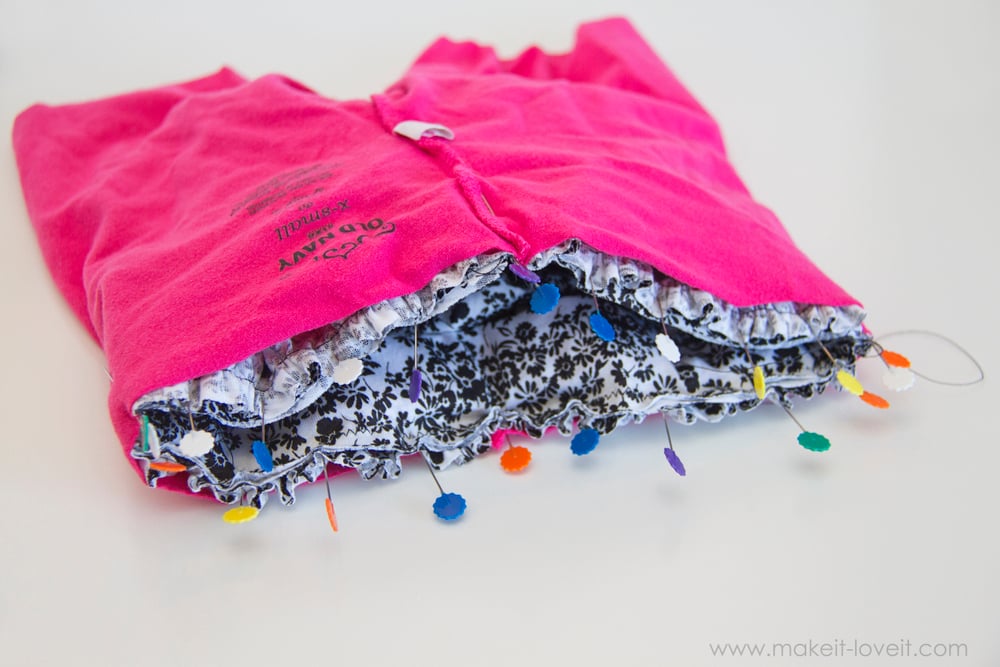
Pin the shorts to the skirt and then take it over to your sewing machine and sew all the way around the top edge with a zig-zag stitch, using a 1/2 inch seam allowance.
Then, trim off your extra fabric and flip your waistband up, and steam iron flat.
That’s it!!! So simple, right??
Enjoy!
Credit: http://www.makeit-loveit.com/
No comments:
Post a Comment