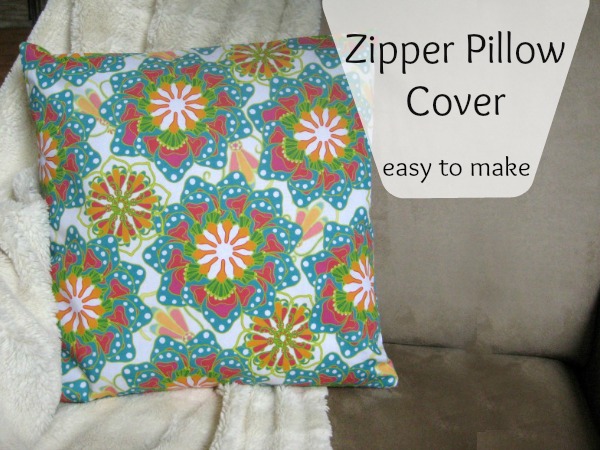
Decorative pillows are a great way to infuse style in your home without buying new furniture and the zipper pillow cover is a great way to transform your space on a shoe string budget! Once you get past the nerves of installing the zipper, this pillow cover is a breeze.
Zipper Pillow Cover

This project is for all levels.
Skill Level- 1 Button
Supplies:
*To keep things easy, all supplies are based on a 16″ square pillow form.
1/2 yard fabric (love this print by Modern Yardage)
20″ zipper
Tools:
sewing machine/thread
zipper foot
basic sewing supplies
Basic Instructions:
1. Cut 2 pieces of fabric 17″ square. This will allow 1/2″ all around seam allowance. Attach the zipper foot to your machine.

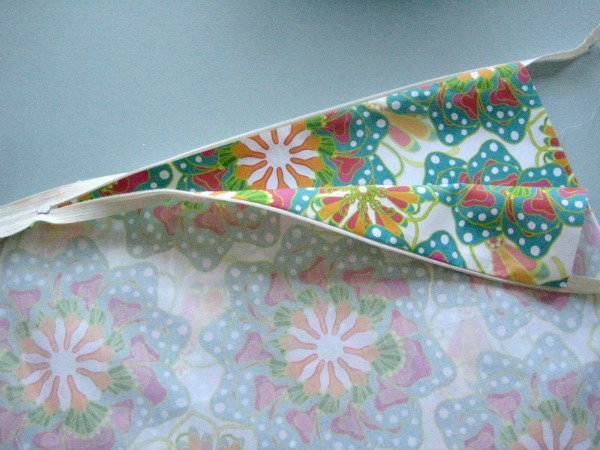
2. Leaving your zipper closed; position and pin tape to the right (printed) side of fabric. Straight stitch in place. The zipper foot will allow you to get the seam very close to the zipper teeth. Open your zipper; repeat steps and sew along the other side of zipper. *Make sure the zipper teeth are aligned.

3. Pull zipper about halfway closed; line up fabrics and pin in place. Change back to your standard machine foot and stitch all around with a simple straight stitch. Be sure to back stitch over the zipper and lock everything in place.

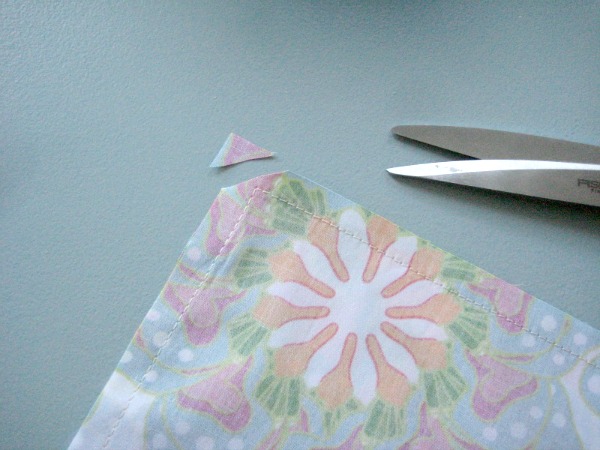
4. Clip the corners; press and turn right side out. Press again.

5. Insert your pillow form, zip closed and toss on a comfy chair.
credit: thesewingloftblog.com
Zipper Pillow Cover

This project is for all levels.
Skill Level- 1 Button
Supplies:
*To keep things easy, all supplies are based on a 16″ square pillow form.
1/2 yard fabric (love this print by Modern Yardage)
20″ zipper
Tools:
sewing machine/thread
zipper foot
basic sewing supplies
Basic Instructions:
1. Cut 2 pieces of fabric 17″ square. This will allow 1/2″ all around seam allowance. Attach the zipper foot to your machine.

2. Leaving your zipper closed; position and pin tape to the right (printed) side of fabric. Straight stitch in place. The zipper foot will allow you to get the seam very close to the zipper teeth. Open your zipper; repeat steps and sew along the other side of zipper. *Make sure the zipper teeth are aligned.

3. Pull zipper about halfway closed; line up fabrics and pin in place. Change back to your standard machine foot and stitch all around with a simple straight stitch. Be sure to back stitch over the zipper and lock everything in place.

4. Clip the corners; press and turn right side out. Press again.

5. Insert your pillow form, zip closed and toss on a comfy chair.
credit: thesewingloftblog.com

No comments:
Post a Comment