
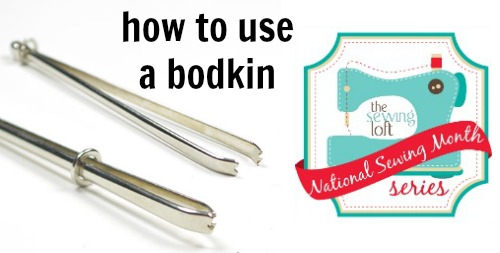
Hi there! I’m Carolina from 30 Minute Crafts and Always Expect Moore. I love fast and easy crafting, including lots of quick sewing projects! I’m “sew” excited that Heather invited me over again this year to play! Last year, I shared the wonders of the seam ripper, a tool that I always have handy. Today I’m sharing with you a super-quick sewing project AND an awesome sewing tool – the bodkin. The bodkin is an awesome and wildly underused tool in sewing, so let’s dive in! First, Bodkin is a fun word to say! Seriously – try it. Say it out loud. Bod. Kin. Bodkin. Bodkin. Bodkin. Bodkin. Sounds like something out of Harry Potter, right? And such a fun word! Now, let’s take a look at the bodkin. It looks a lot like a pair of tweezers with a metal ring squeezing the two sides together.

Although a bodkin looks a lot like tweezers, what it does is actually very similar to another very popular sewing tool… the needle. The bodkin works like a needle for big items that need to be fed through a casing(a casing is like a tube of fabric – If you’ve ever seen a pair of elastic-waist pants, the area the elastic is in is the casing) . You can use a bodkin with ribbon, yarn, or elastic – like we’re going to do today to make this fun elastic gift bag.
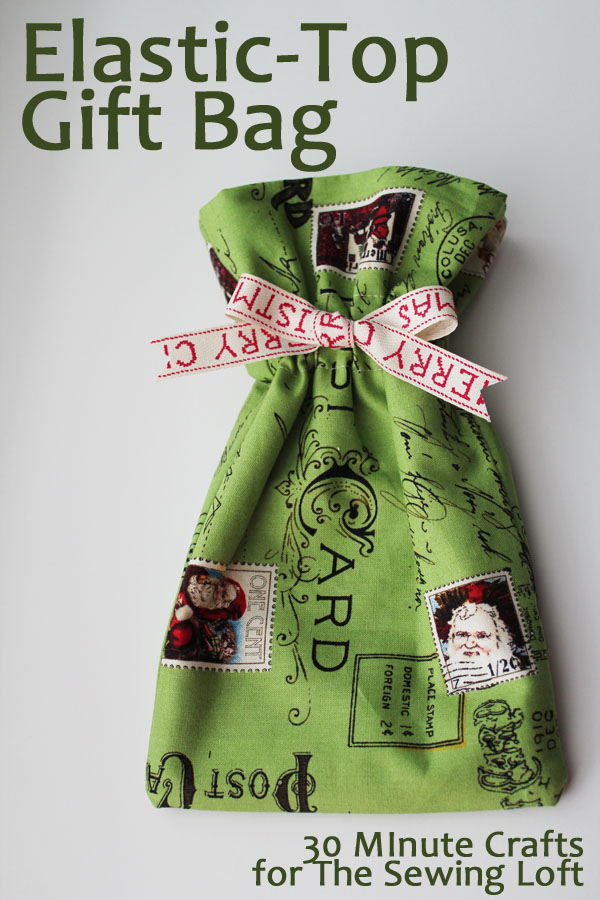
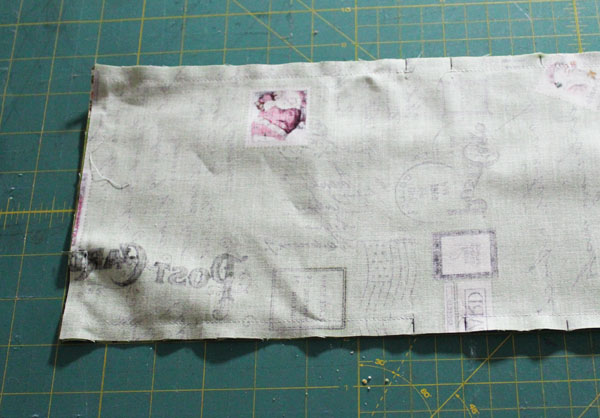
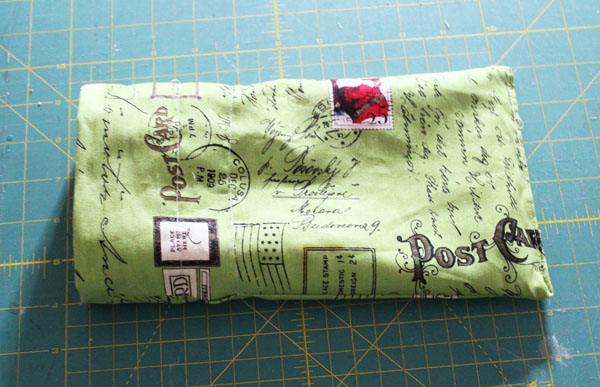
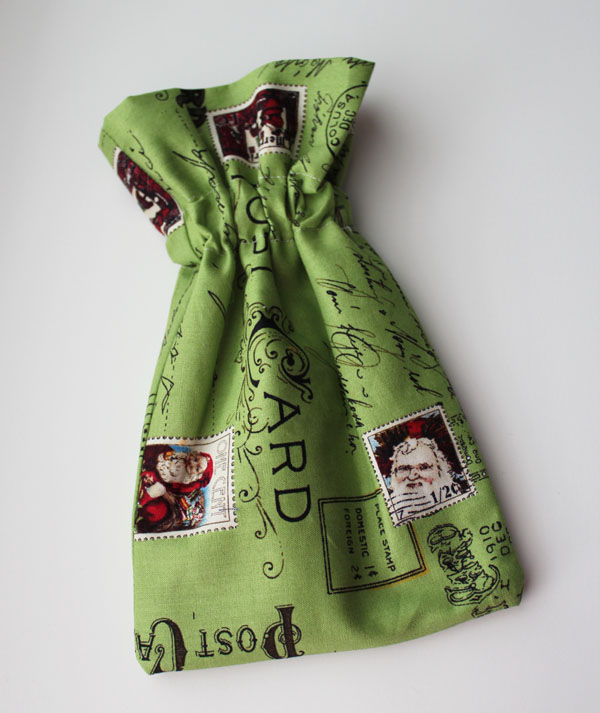
This bag is super fast and easy to make. Instead of making a traditional draw-string bag, I made this bag with an elastic top. The elastic stretches so that you can insert or remove the gift, and it is easy to fold up and put away year after year. The elastic top is great for small children who can’t manipulate the strings of a draw-string bag, but it fun for anyone who loves digging into a bag to pull out a surprise! To make your own elastic topped gift bag, you’ll need: Fabric (I used Christmas fabric to wrap Christmas Presents) Pen Ruler Bodkin Elastic Start by cutting and marking your fabric. Cut a 6″xWOF (width of fabric) strip (you can make yours wider if you like). Then cut off the selvedge ends. Fold the fabric in half. Make a mark in the middle of the folded fabric. Make a second mark 2″ towards the open (un-folded) end, and a third mark 1″ further towards the open end. Repeat these marks on the other side.

Stitch all the way around. Start at one folded end and stitch until you get to the marks that are 1″ apart. Stop and start again at the second mark, leaving a 1″ gap in your stitching. Stitch to the end, pivot at the short end, and stitch the short end leaving a 2-3″ gap in the stitching as a hole for turning. Pivot at the next corner and sew down the second long end, again leaving a gap between the lines 1″ apart. Stop your stitching when you get back to the folded end.

Turn the bag right-side-out through the hole. You can pull the bag completely right side out and then tuck the folded end inside, or you can just turn half the bag over the other half to make the fully lined bag. Pin closed the hole at the bottom, and pin at both the top and bottom of your 1″ side holes. The seams on the outside of the bag should line up with the seams on the inside of the bag.
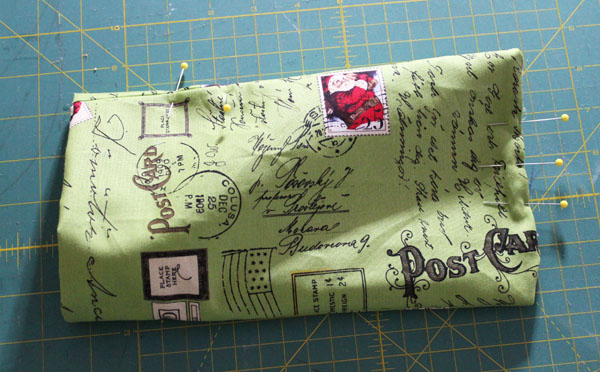
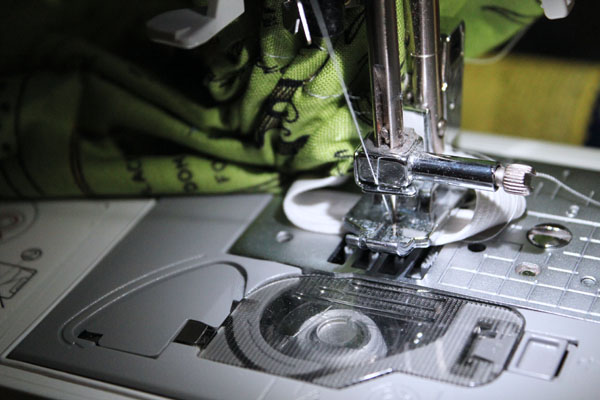
Stitch closed the bottom of the bag. Stitch all the way around the bag, through both layers, from the bottom pin on one side to the bottom pin on the other side, creating a line of stitching all the way around. You can remove the bottom pins. Repeat this where the top pins are, creating two parallel lines of stitching 1″ apart all the way around the bag, with the holes open and on either side of the bag.
Now it is time to use our bodkin! Slide the ring towards the folded end of the bodkin. This will open up the mouth. Place your elastic between the teeth, then slide the ring back tightly. This will secure the elastic in place.
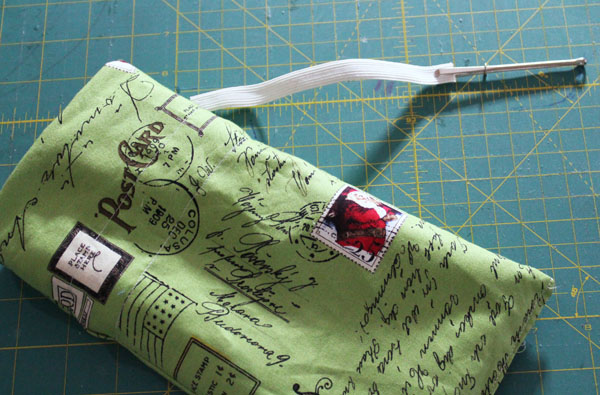
Using the bodkin like a blunt-tipped needle, thread the bodkin curved tip first into one of the holes in the casing. Glide it through the two layers of fabric to the hole on the other side.
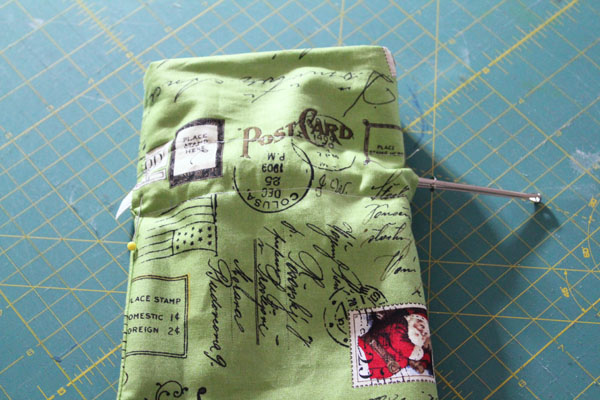
Insert the bodkin back in the hole it came from and out the first hole. I used 6″ of elastic, and pinned the end of the elastic not attached to the bodkin to the outside of the bag as I threaded it through the casing, so that it would stay put. Overlap the elastic about 1″, and stitch together.
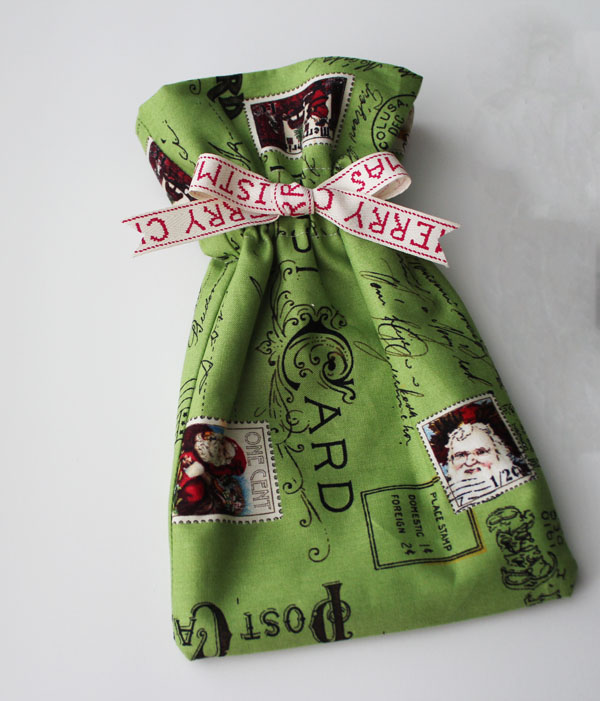
Now you have an elastic topped bag! Easy to put a gift in to give to someone. But, you can make it a little more special by adding a bow…
Just cut a length of ribbon and tie a bow of whatever size you like.

And hand stitch it in place with a few stitches.
The bodkin is a great tool, and much better than trying to use a safety pin to thread ribbon or yarn through a casing. A safety pin can damage ribbon, is hard to pin through lace, and can be difficult to pull through layers of fabric. A bodkin is specially designed for this purpose, and so super easy to use. Plus, it is very inexpensive! I love quick crafting, and having the right tool on hand for the job is essential when wanting to get sewing projects done in a short amount of time. I hope you’ll stop by 30 Minute crafts and Always Expect Moore so I can share more fun projects with you!
credit: thesewingloftblog.com
No comments:
Post a Comment