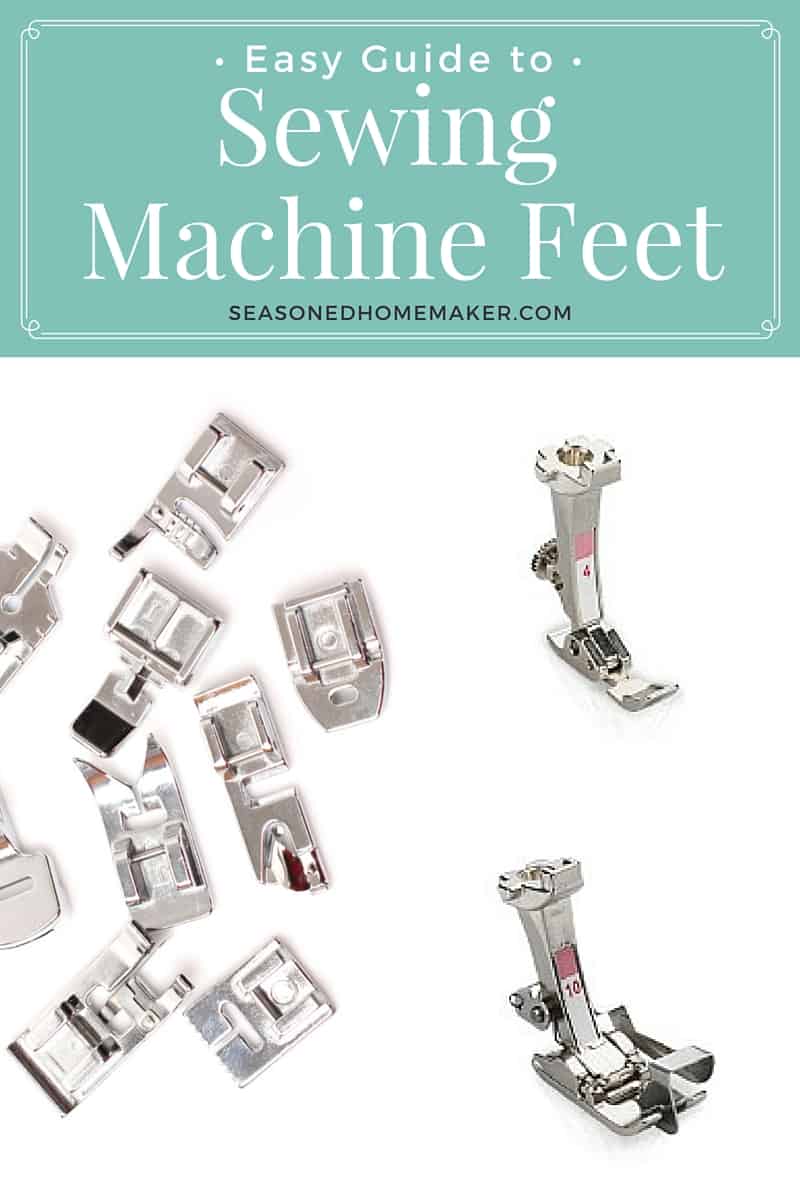
Today, I am starting a new series about sewing machine feet. Since my husband and I will be moving into a temporary apartment while our new home is being built, sewing machine feet seemed like a great sewing series. I will have limited space in the apartment and a less-than-organized sewing area ~ and sewing machine feet don’t take up much space but allow for tremendous creativity.

Like my previous series’ on Machine Embroidery, I will attempt to be thorough and cover the basics. Think of this series as a starting point for your creativity.
Throughout this series, I will be demonstrating with Bernina feet. However, all manufacturers make similar feet. Visit a local sewing store and ask them to show you the feet that would be appropriate for your machine.
Let’s start with the All-Purpose Foot.
While Bernina calls this an all-purpose foot, many manufacturers will refer to it as a standard foot, or a zigzag/standard foot. No matter the name, it should have similar features.

As the name indicates, this sewing machine foot is designed for almost all purposes. When you purchase a sewing machine {either new or used} it will come with an All-Purpose Foot.

No matter what your machine’s manufacturer calls this foot, it is basic in every way.
It should have a slot or opening of some sort that allows you to pull your threads to the back of the machine. This keeps threads from creating a bird’s nest when you start sewing.
The All-Purpose Foot should have an opening wide enough for you to do zigzag sewing as well as other decorative stitching.
Most All Purpose feet will have some sort of markings that helps you sew straight. On this foot, there is a center guide marked in the center of the foot. This will help create nice straight stitches.

Fabric should easily fit beneath this foot and allow you to make needle position adjustments or stitch width adjustments. In the photo below, notice how the foot is wide enough to hold the fabric in place while my needle is positioned near the edge of the fold.
This allows me to control needle placement. The center mark helps keep my stitching straight.

The beauty of an all purpose/standard foot is how well it works with decorative stitching. The 5mm opening on this foot allows for ease of stitching when using many of the utility and decorative stitches that are built into a machine.
Using a rayon or polyester {embroidery} thread will only add to your ability to create.

Take a minute and get creative with your Sewing Machine Feet.
Sew on and sew forth ~
Clear Sole Foot
Edge Stitch Foot
Open Toe Foot
Buttonhole Foot
The Zipper Foot
The Invisible (Concealed) Zipper Foot
The Walking Foot
The Satin Stitch Applique Foot
The Non-Stick Foot
The Ruffler
The Gathering Foot
credit: seasonedhomemaker.com

Like my previous series’ on Machine Embroidery, I will attempt to be thorough and cover the basics. Think of this series as a starting point for your creativity.
Throughout this series, I will be demonstrating with Bernina feet. However, all manufacturers make similar feet. Visit a local sewing store and ask them to show you the feet that would be appropriate for your machine.
Let’s start with the All-Purpose Foot.
While Bernina calls this an all-purpose foot, many manufacturers will refer to it as a standard foot, or a zigzag/standard foot. No matter the name, it should have similar features.

As the name indicates, this sewing machine foot is designed for almost all purposes. When you purchase a sewing machine {either new or used} it will come with an All-Purpose Foot.

No matter what your machine’s manufacturer calls this foot, it is basic in every way.
It should have a slot or opening of some sort that allows you to pull your threads to the back of the machine. This keeps threads from creating a bird’s nest when you start sewing.
The All-Purpose Foot should have an opening wide enough for you to do zigzag sewing as well as other decorative stitching.
Most All Purpose feet will have some sort of markings that helps you sew straight. On this foot, there is a center guide marked in the center of the foot. This will help create nice straight stitches.

Fabric should easily fit beneath this foot and allow you to make needle position adjustments or stitch width adjustments. In the photo below, notice how the foot is wide enough to hold the fabric in place while my needle is positioned near the edge of the fold.
This allows me to control needle placement. The center mark helps keep my stitching straight.

The beauty of an all purpose/standard foot is how well it works with decorative stitching. The 5mm opening on this foot allows for ease of stitching when using many of the utility and decorative stitches that are built into a machine.
Using a rayon or polyester {embroidery} thread will only add to your ability to create.

Take a minute and get creative with your Sewing Machine Feet.
Sew on and sew forth ~
Clear Sole Foot
Edge Stitch Foot
Open Toe Foot
Buttonhole Foot
The Zipper Foot
The Invisible (Concealed) Zipper Foot
The Walking Foot
The Satin Stitch Applique Foot
The Non-Stick Foot
The Ruffler
The Gathering Foot
credit: seasonedhomemaker.com

No comments:
Post a Comment