Whether you’re a novice sewist or a veteran, you want the items you sew to look polished and professional. With just a few simple steps, you can tweak your sewing habits to give your work that extra something special that will make anything you sew look like it could have come from an expensive boutique.
Just follow these steps and practice improving the smaller steps in the sewing process to see big results in the finished project!
Improve your sewing skills in 4 easy steps
Step 1: Cut your patterns carefully.
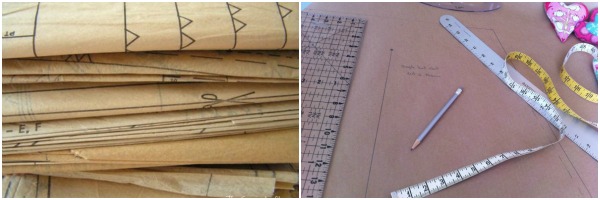
When you’re sewing something that has pattern pieces to cut around, be sure you press the pattern paper itself so the wrinkles won’t distort the shape of your cut fabric.
Pay attention to fabric grain: if the pattern tells you to cut something on the grain, this means that you should line up that pattern piece in the direction of the warp thread that was used to weave that fabric. (A way to check for this is to gently tug on the fabric; generally the “on the grain” direction will stretch less than the other direction.)
If your project calls for you to cut fabric in certain dimensions, be sure to measure twice before you cut. Use a ruler and a rotary cutter with a cutting mat to help you make clean, even lines that are also aligned with the fabric grain.
Step 2: Measure your seam allowances.
Don’t just assume that any old seam allowance will work for every project – a slight miscalculation in your seams for one part of your project could mean that the entire finished product comes out the wrong size.
Check the pattern directions and follow the seam allowance they specify, every time. Remember that the seam allowance may change for different parts of a project.
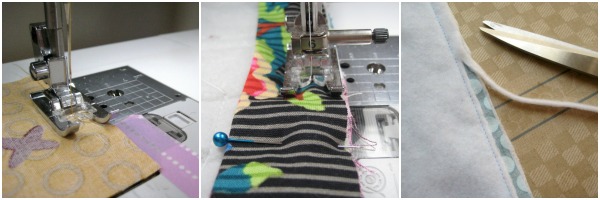
If you’re not sure how wide your seam allowance is going to be, try testing it on a scrap piece of fabric and then mark that position on your presser foot or sewing machine so that you can be sure to line it up properly every time.
Trim down your seam allowances after sewing, and make sure to clip around corners and curves. This reduces bulk and lets your project take on the proper shape.
Step 3: Press your fabric properly.
There is a difference between pressing and ironing, and that difference can make or break your project. Brush up on the basics here.
Use the proper pressing tools for your project – for curved edges or tight spaces it helps to have a pressing ham or a presser bar.
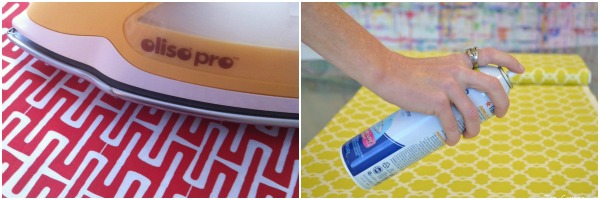
Use the correct heat setting for the fabric you’re pressing, and make sure to test a spare piece of the fabric with your iron before you press the actual project pieces.
Spray starch can help in pressing difficult fabrics or maintaining crisp lines, though there’s a bit of a debate about it in the sewing world.
Step 4: Details make a difference.
Don’t be afraid to sew something by hand if your project calls for it. Sometimes you have to stitch up the final seam on a stuffed toy, or hand-stitch the binding on a quilt, in order to get the best results from your project. Hand stitching does take more time than using a machine, but sometimes it’s time worth spending in order to make your project really stand out (in a good way).
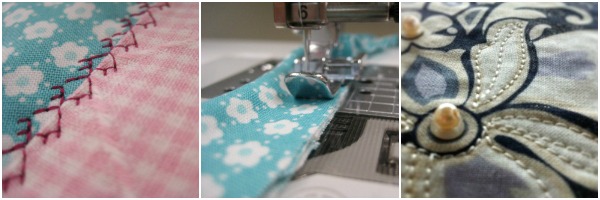
Use decorative stitches to highlight an area of your project. Whether you use your sewing machine’s built-in stitches or hand sew some embroidery onto a project, these tiny details really add that extra something unique to your finished project.
For home decor and garment sewing, piping is a great way to highlight a particular area of a project or to take an average, everyday item and make it something really special. You can even make your own piping – it’s really not that hard!
credit: thesewingloftblog.com

Just follow these steps and practice improving the smaller steps in the sewing process to see big results in the finished project!
Improve your sewing skills in 4 easy steps
Step 1: Cut your patterns carefully.
When you’re sewing something that has pattern pieces to cut around, be sure you press the pattern paper itself so the wrinkles won’t distort the shape of your cut fabric.
Pay attention to fabric grain: if the pattern tells you to cut something on the grain, this means that you should line up that pattern piece in the direction of the warp thread that was used to weave that fabric. (A way to check for this is to gently tug on the fabric; generally the “on the grain” direction will stretch less than the other direction.)
If your project calls for you to cut fabric in certain dimensions, be sure to measure twice before you cut. Use a ruler and a rotary cutter with a cutting mat to help you make clean, even lines that are also aligned with the fabric grain.

Step 2: Measure your seam allowances.
Don’t just assume that any old seam allowance will work for every project – a slight miscalculation in your seams for one part of your project could mean that the entire finished product comes out the wrong size.
Check the pattern directions and follow the seam allowance they specify, every time. Remember that the seam allowance may change for different parts of a project.
If you’re not sure how wide your seam allowance is going to be, try testing it on a scrap piece of fabric and then mark that position on your presser foot or sewing machine so that you can be sure to line it up properly every time.
Trim down your seam allowances after sewing, and make sure to clip around corners and curves. This reduces bulk and lets your project take on the proper shape.

Step 3: Press your fabric properly.
There is a difference between pressing and ironing, and that difference can make or break your project. Brush up on the basics here.
Use the proper pressing tools for your project – for curved edges or tight spaces it helps to have a pressing ham or a presser bar.
Use the correct heat setting for the fabric you’re pressing, and make sure to test a spare piece of the fabric with your iron before you press the actual project pieces.
Spray starch can help in pressing difficult fabrics or maintaining crisp lines, though there’s a bit of a debate about it in the sewing world.

Step 4: Details make a difference.
Don’t be afraid to sew something by hand if your project calls for it. Sometimes you have to stitch up the final seam on a stuffed toy, or hand-stitch the binding on a quilt, in order to get the best results from your project. Hand stitching does take more time than using a machine, but sometimes it’s time worth spending in order to make your project really stand out (in a good way).
Use decorative stitches to highlight an area of your project. Whether you use your sewing machine’s built-in stitches or hand sew some embroidery onto a project, these tiny details really add that extra something unique to your finished project.
For home decor and garment sewing, piping is a great way to highlight a particular area of a project or to take an average, everyday item and make it something really special. You can even make your own piping – it’s really not that hard!

credit: thesewingloftblog.com

No comments:
Post a Comment