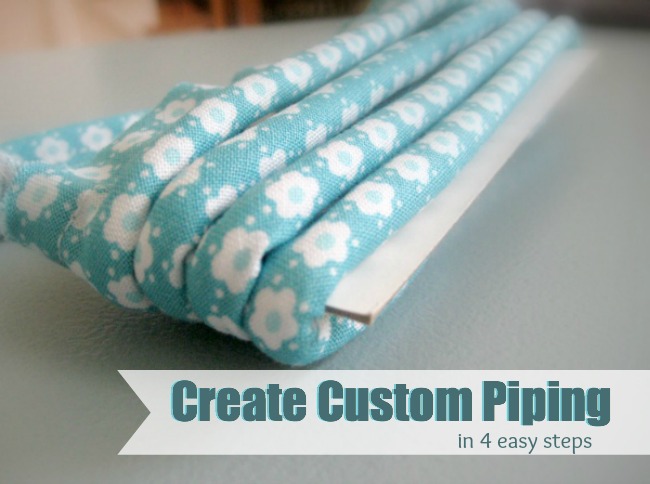
Custom piping is easy to create and can enhance even the simplest of projects. That’s right, in just a few simple steps, this custom trim can completely transform your project. Let me show you how in just four simple steps.
Create Custom Piping

This project is for all levels.
Skill Level- 1 Button
Supplies:
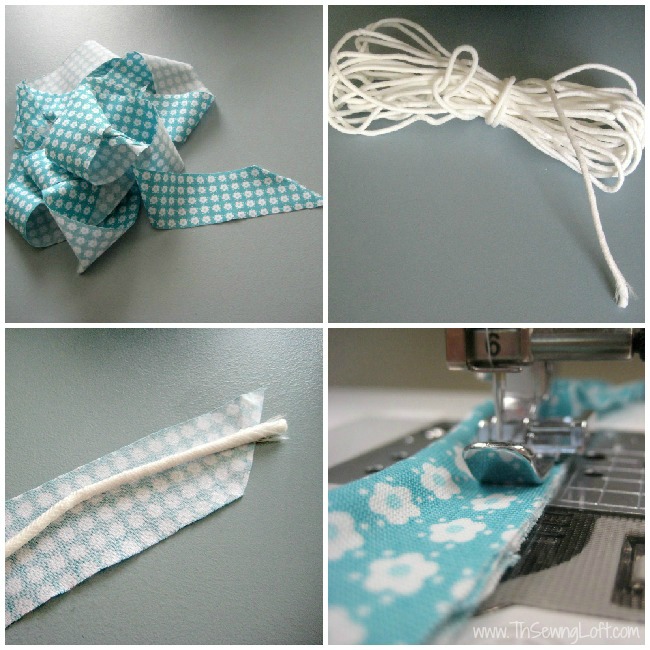
continuous bias strip of fabric
cotton piping/cording
Tools:
sewing machine
zipper foot
basic sewing supplies
Basic Instructions:
Attach your zipper foot to your machine and check the needle position.
Lay right side of your bias strip on a flat surface and center your cording on top.
Fold the bias fabric in half, matching raw edge to raw edge.
Straight stitch close to the cording with your zipper foot. *Tip: Stitch about 1/8″ from the cording for basting. Then when cording is sandwiched between the layers of fabric in your project, you will use your zipper foot again and stitch as close as possible. This will prevent your basting stitch from being visible.
credit: thesewingloftblog.com
Create Custom Piping

This project is for all levels.
Skill Level- 1 Button
Supplies:
continuous bias strip of fabric
cotton piping/cording
Tools:
sewing machine
zipper foot
basic sewing supplies
Basic Instructions:
Attach your zipper foot to your machine and check the needle position.
Lay right side of your bias strip on a flat surface and center your cording on top.
Fold the bias fabric in half, matching raw edge to raw edge.
Straight stitch close to the cording with your zipper foot. *Tip: Stitch about 1/8″ from the cording for basting. Then when cording is sandwiched between the layers of fabric in your project, you will use your zipper foot again and stitch as close as possible. This will prevent your basting stitch from being visible.

credit: thesewingloftblog.com

No comments:
Post a Comment