

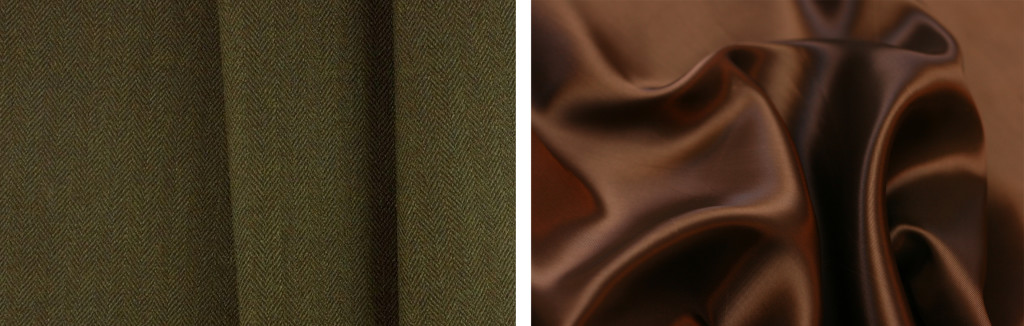
Today I’m sharing my free cadet-style hat pattern! This tutorial first appeared on the Britex blog last fall. I’ve used two fabrics provided by Britex in my hat, a beautiful midweight herringbone olive & espresso wool for the exterior, and a silky smooth chocolate brown rayon/cupro for the lining.
Finished Size:
The base of the hat measures 20 7/8″ and fits a head circumference (measured from the middle of the forehead to the widest part of the back of the skull) of 20 1/4″, the average size of a 5 year old.
Fabric Requirements:
– Lining fabric: 12″ wide x 16″ tall
– Exterior fabric: 24″ wide x 11″ tall (plus optional interfacing, see note below)
– Brim interfacing (72F Peltex 2 sided fusible ultra firm interfacing by Pellon): 6.5″ x 4″
– Exterior fabric: 24″ wide x 11″ tall (plus optional interfacing, see note below)
– Brim interfacing (72F Peltex 2 sided fusible ultra firm interfacing by Pellon): 6.5″ x 4″
For the exterior use a medium or heavy weight fabric. If your fabric is a medium weight like the wool I’ve used for this hat, fuse it with interfacing to give it more structure. I’ve fused the back of my midweight wool with Pellon 906 Fusible Sheerweight. Canvas or twill (the navy/gray and brown hats in the title image are twill) are fine with no interfacing. For the interior, the cupro made for a great finish for the inside of the hat. It’s silky smooth, pressed beautifully, it’s anti-static (great for a hat lining), and breathes well. You can find out more about cupro here. It was tricky to work with at this small scale with lots of curves so it did require slow stitching and lots and lots of pins to keep it in place. For the lining you can also use the same fabric as the exterior (minus the optional interfacing), or quilting cotton or any other light weight fabric.
Additional Notes:
– Cut all pieces with the grain of the fabric running vertically.
– All seam allowances will be 1/4″ unless otherwise noted.
– For more sizes, follow me through any of the options in the upper right corner of my blog homepage to find out when the multi-sized pattern is released.
– All seam allowances will be 1/4″ unless otherwise noted.
– For more sizes, follow me through any of the options in the upper right corner of my blog homepage to find out when the multi-sized pattern is released.
After you’ve downloaded and cut out the pattern pieces, line up the letters for pieces A, B, and C and tape the pieces together. Cut the fabric and interfacing as noted on the pattern pieces. In the photo below, you can see all the pieces together.
Brim assembly:
To make the brim, place the two pieces right side together and sew along the outside curve. Clip every 1/2″ around the curve, making sure not to cut your thread. Turn right side out and insert the brim interfacing between the layers with the seam allowance all pushed the the bottom side of the brim. Press both sides of the brim with steam to activate the adhesive in the interfacing. Topstitch the front of the brim 1/4″ from the edge and again 1/2″ from the edge.

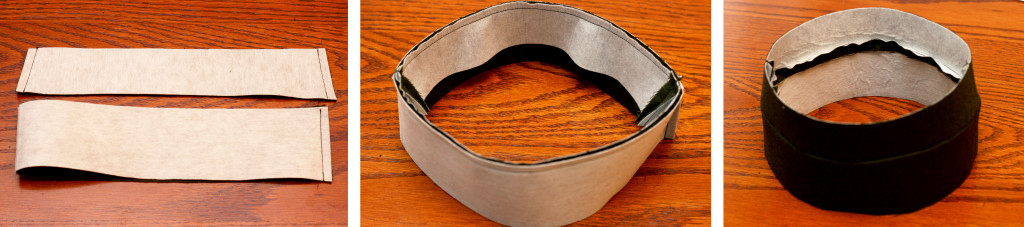
Hat exterior assembly:
With right sides together, sew together the two edges of the upper hat band. Then fold the lower hat band in half and sew the back edge together. (left photo below) Flip the upper band right side out, and with the narrower upper edge facing down insert it inside of the lower hat band so right sides are together (middle photo). Line up the seam on the the wider part of the upper band (marked “back” in the pattern) with the seam on the lower band. Pin all around then sew together. Fold open and press all seams.
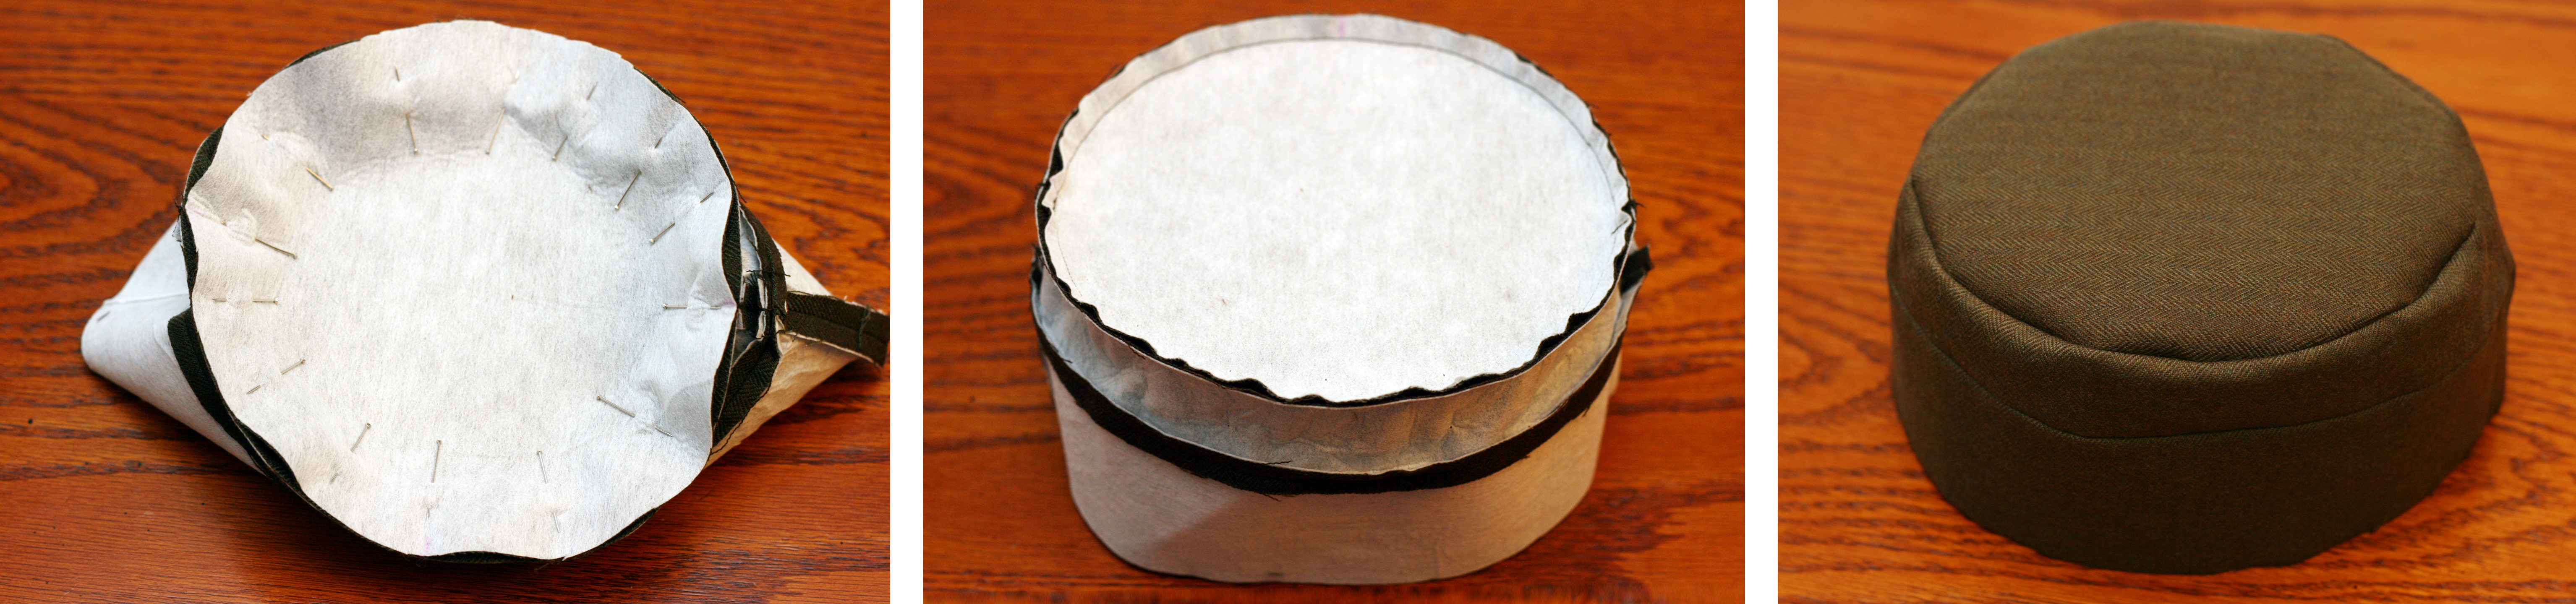
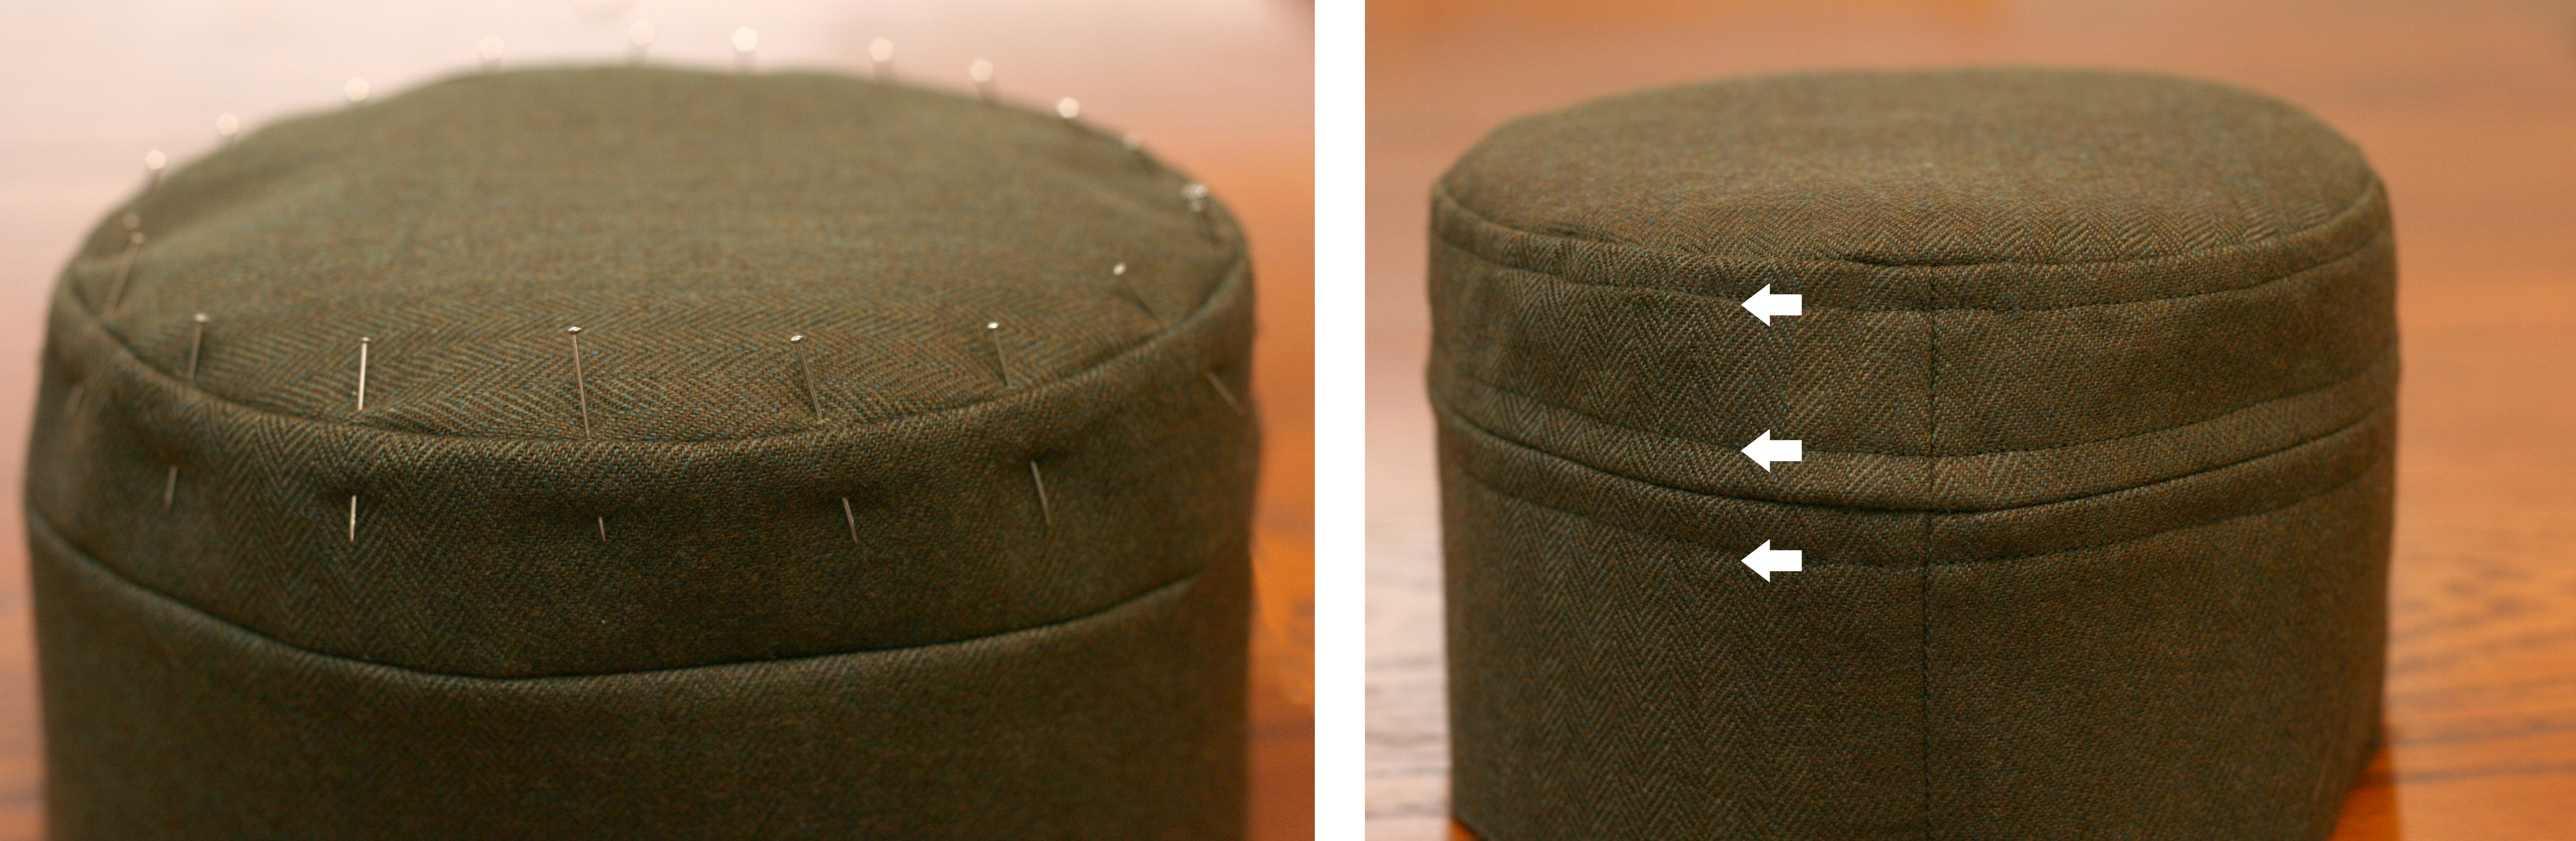
Next, pin the top of the hat to the upper hat band. It’s helpful to crease the hat top in half across both the length and width, and use the crease lines to match up the front/back/sides. Pin those 4 areas first, and then fill in with additional pins. The oval will want to stretch where it’s cut on the bias, so be extra careful in those areas. After sewing all the way around, remove the pins and flip right side out. The hat will look a little frumpy still, but we’ll be adding some top stitching soon that will make all the seams nice and crisp.
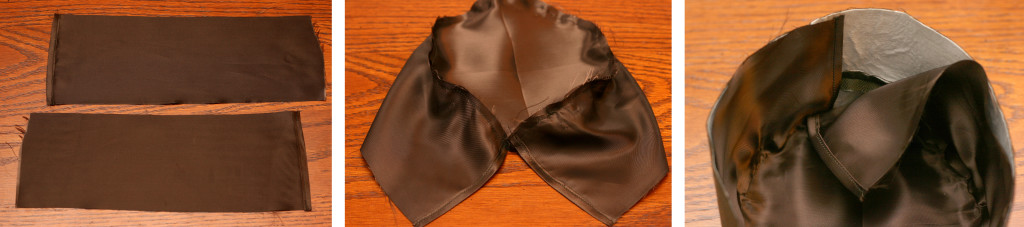
Hat interior assembly:
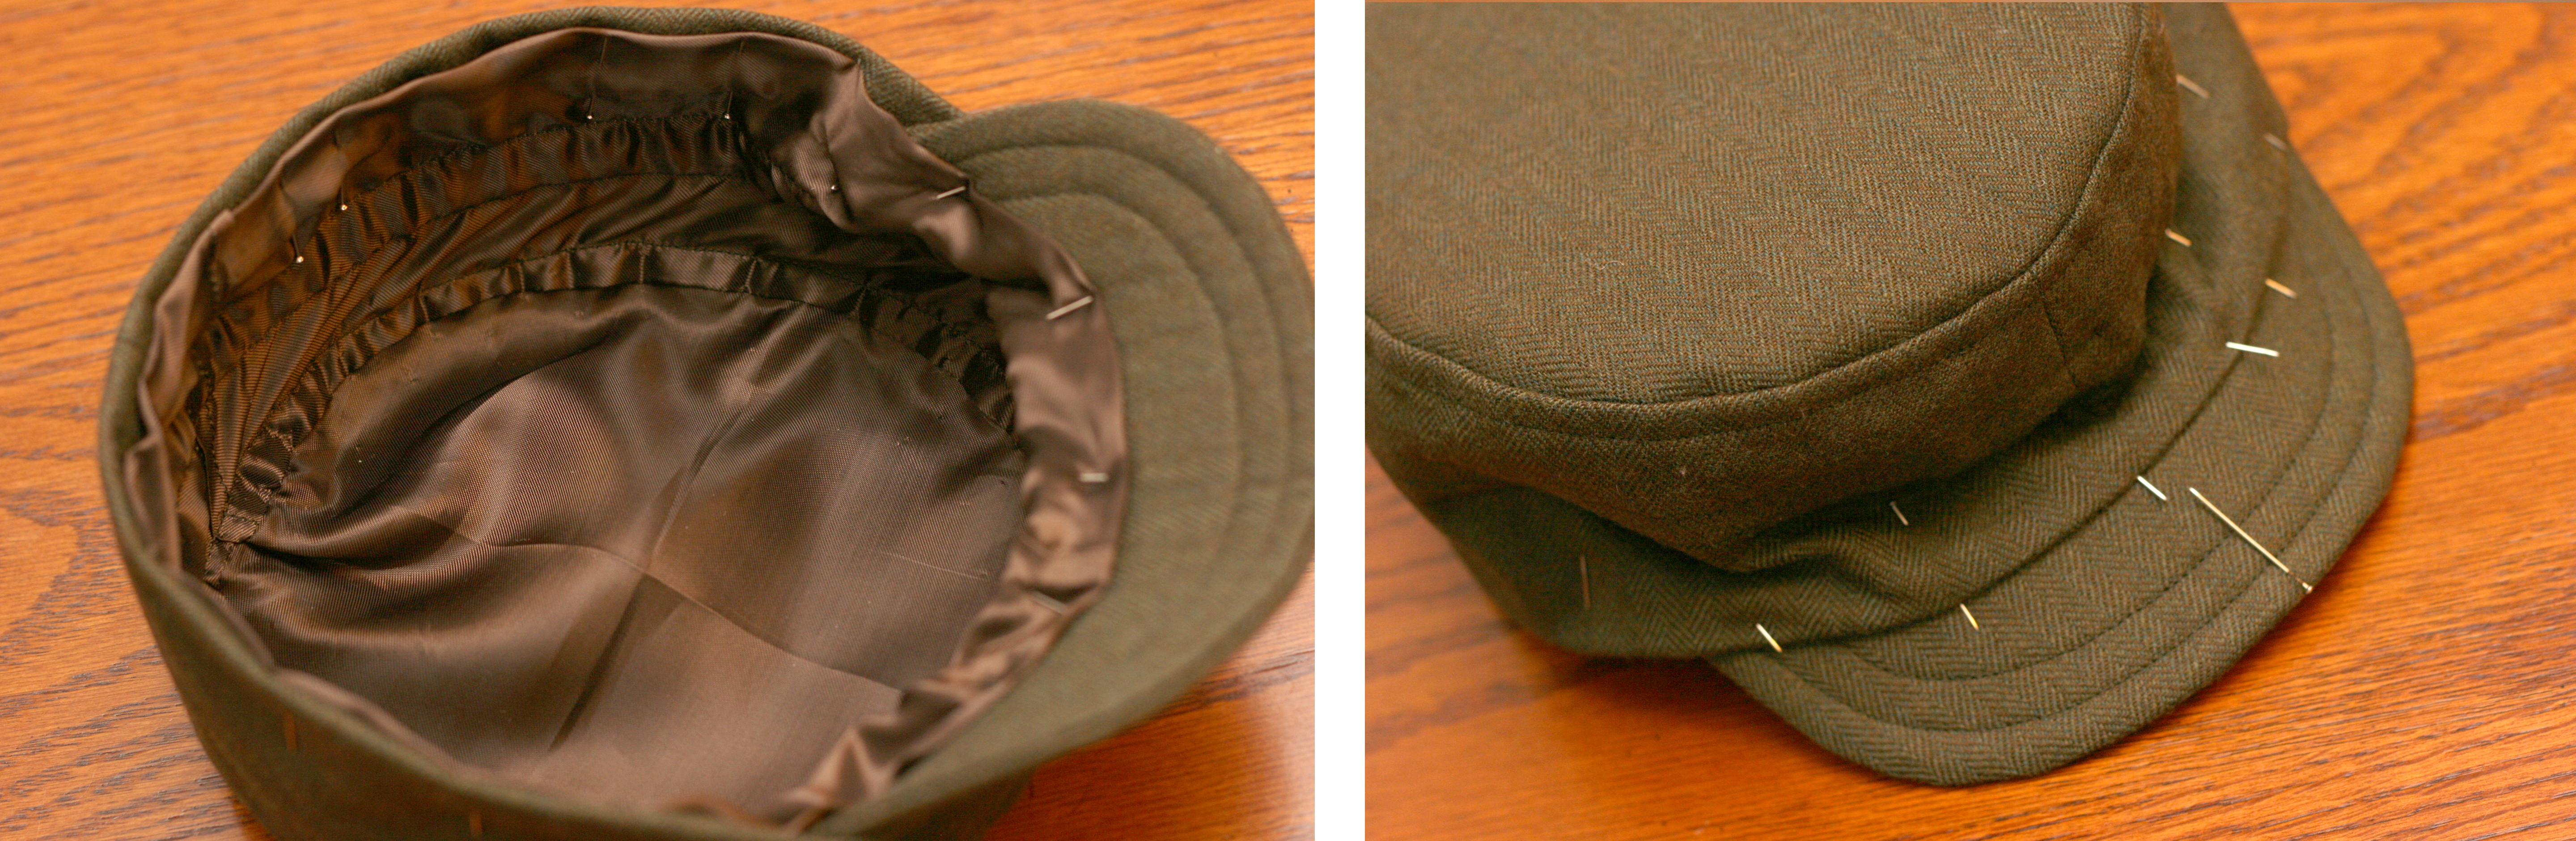
For a fabric that frays easily, fold the back of the hat band lining under twice toward the wrong side by 1/4″ and stitch down (what I did with the cupro below). Otherwise, just fold the back under by 1/2″. The raw edges will be covered later. Next, with right sides together, sew the front edges of the lining together. Then, starting with the front of the hat and working toward the back, pin the band lining to the oval top lining. The back seam will overlap by approximately 1/4″. Sew together, then remove the pins and place the lining inside the hat exterior with wrong sides together. Optional: If you’re concerned about stretching, staystich the outside edge of the oval top before assembling the lining.
Final assembly:
Line up the top seams of the interior and lining pieces and pin all around, starting at the front and working toward the back. It’s easiest to place the pins just inside the top seam then out through the bottom just below the seam allowance. As you pin, press all the seam allowances toward the bottom of the hat. Sew three lines of topstitching, one just below the top seam, one above the middle seam and one below the middle seam. For each line of stitching, start where the white arrows below indicate, just past the open vent in the lining. When you come back around to the back, overlap the lining pieces and finish the seam. (The reason for the vent back rather than a fitted lining is that in testing, we found that if the lining stretched even an 1/8″ when sewn to the top oval, it wouldn’t line up correctly to the exterior. This design eliminates that issue.)
Next, fold the back and sides of the outside of the hat toward the center by 3/4″. Then fold the lining toward the center so the edge is just below the exterior by 1/8″ so all raw edges are now hidden. At the back vent in the lining, overlap the two open edges then fold them over toward the inside together. At the front of the hat, insert the brim. Mark the center of the brim with a pin and line it up with the front seam on the upper hat band. The brim should be inserted 1/4″ all the way around. Curve it gently as you pin to each side and it will stick out like a normal hat brim. As you pin down the brim, fold the exterior and lining cap pieces toward the center as you just did with the sides and back. The brim will push up on the bottom hat band so that piece will be folded under 7/8″ rather than 3/4″ like the rest of the hat. Make sure the lining extends past the bottom hat band so you catch it as you sew around.
Sew all the way around the hat with a 1/4″ seam and decrease to a 1/8″ seam across the brim. Below you’ll see what the interior looks like when flipped out (left), and the finished bottom seam (right).To curve the brim, use an iron and steam it over a curved object or steam it and use your hands to curve it while still warm.
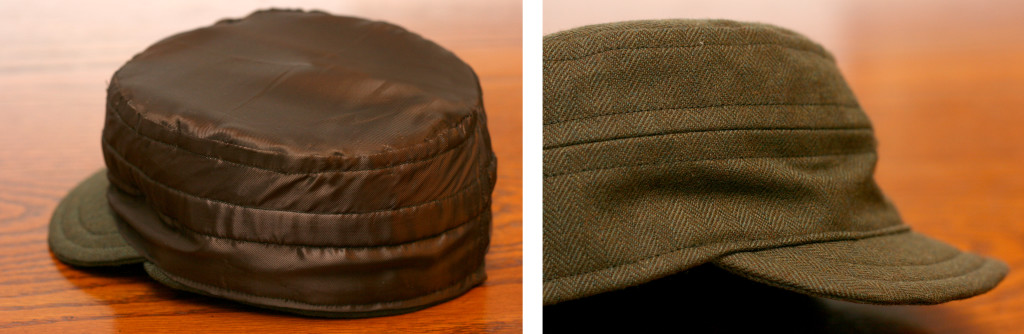
And that’s it, you’ve made a hat! Find a cute model and you’re all set.
No comments:
Post a Comment